How to Knit the Garter Stitch: A Step-by-Step Guide
Knitting is a craft that allows for endless creativity and personal expression, but every knitter, from novice to expert, starts somewhere. The garter stitch is often the first stitch pattern a new knitter learns. It's the simplest knitting stitch and consists merely of the knit stitch on every row. Because of its simplicity, it's an excellent way for beginners to practice and gain confidence before moving on to more complex patterns.
The garter stitch isn't just for beginners, though. Its versatility and the beautiful, ridged texture it creates make it a favorite for many projects, including scarves, blankets, and dishcloths. The stitch is reversible, lies flat, and is stretchy without being too elastic, making it functional and aesthetically pleasing for a variety of designs.
Key Takeaways
- The garter stitch is a foundational knitting technique ideal for learners.
- It is characterized by its simplicity and versatility, suitable for various projects.
- Mastery of the garter stitch lays the groundwork for advancing to more intricate patterns.
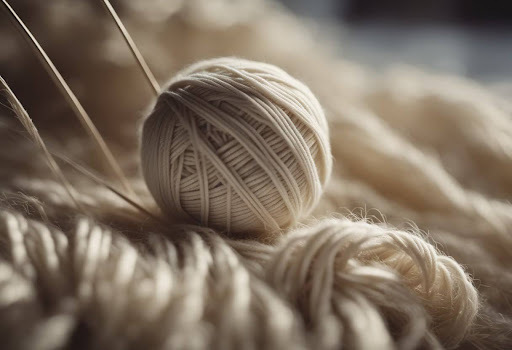
What You'll Need
.jpg)
To embark on knitting the garter stitch, you'll require a few key materials and tools. Below is a curated list of essentials to begin your knitting journey:
Materials:
- Yarn: We recommend smooth, medium-weight yarn (worsted) for beginners.
- Knitting Needles: Size 8 (5mm) is a good starter point, but select needles that match your yarn weight.
Tools:
- Tapestry Needle: For weaving in yarn ends after your project is complete.
- Scissors: A small, sharp pair for cutting yarn.
- Ruler or Tape Measure: To check the gauge and dimensions of your work.
Optional:
- Stitch Markers: To mark specific points in your pattern or denote the beginning of a round.
- Row Counter: To keep track of the number of rows you have knitted.
We recommend choosing quality materials that provide comfort and ease as you knit. Our store offers a wide range of yarns and accessories, ensuring you have access to everything you need.
Utilize our assortment to select the right tools and trust in our expertise to guide your knitting journey. With our wide selection, competitive prices, and dedication to customer service, we are here to support every stitch of your garter stitch project.
Instructions
.jpg)
To begin knitting the garter stitch, you'll need to cast on the required number of stitches for your project. We're going to guide you through the process step-by-step.
- Casting On: Start with a slip knot on your needle, then use your preferred method to cast on the desired number of stitches.
- Knitting Rows:
- Row 1: Insert the right needle into the first stitch on the left needle, knitwise, wrap the yarn around the right needle, then pull it through to create a new stitch.
- Row 2 and Beyond: Continue by knitting every stitch in every row. No purling is needed with the garter stitch.
- Continuing the Pattern: Keep repeating the knitting process for each row until your piece reaches the desired length.
- Last Row (Binding Off): When you’re ready to finish, knit two stitches on your last row, then use the left needle to lift the first stitch over the second stitch and off the needle. Repeat this across the row until only one stitch remains.
- Finishing: Cut the yarn, leaving a tail, and pull this tail through the last stitch. Secure the end and weave in any loose ends with a tapestry needle.
Remember to maintain a consistent tension throughout your knitting to ensure an even fabric. The garter stitch is ideal for beginners due to its simplicity and creates a stretchy fabric that does not curl at the edges, perfect for many types of projects. Happy knitting!
Checkout more free patterns here.

