Birthday Card Design Handmade: Unleash Your Creativity with LindeHobby's Tips
Creating handmade birthday cards is a wonderful way to show someone you care. Making these cards lets you add a personal touch and express creativity. Handmade cards can be more meaningful and memorable than store-bought ones.
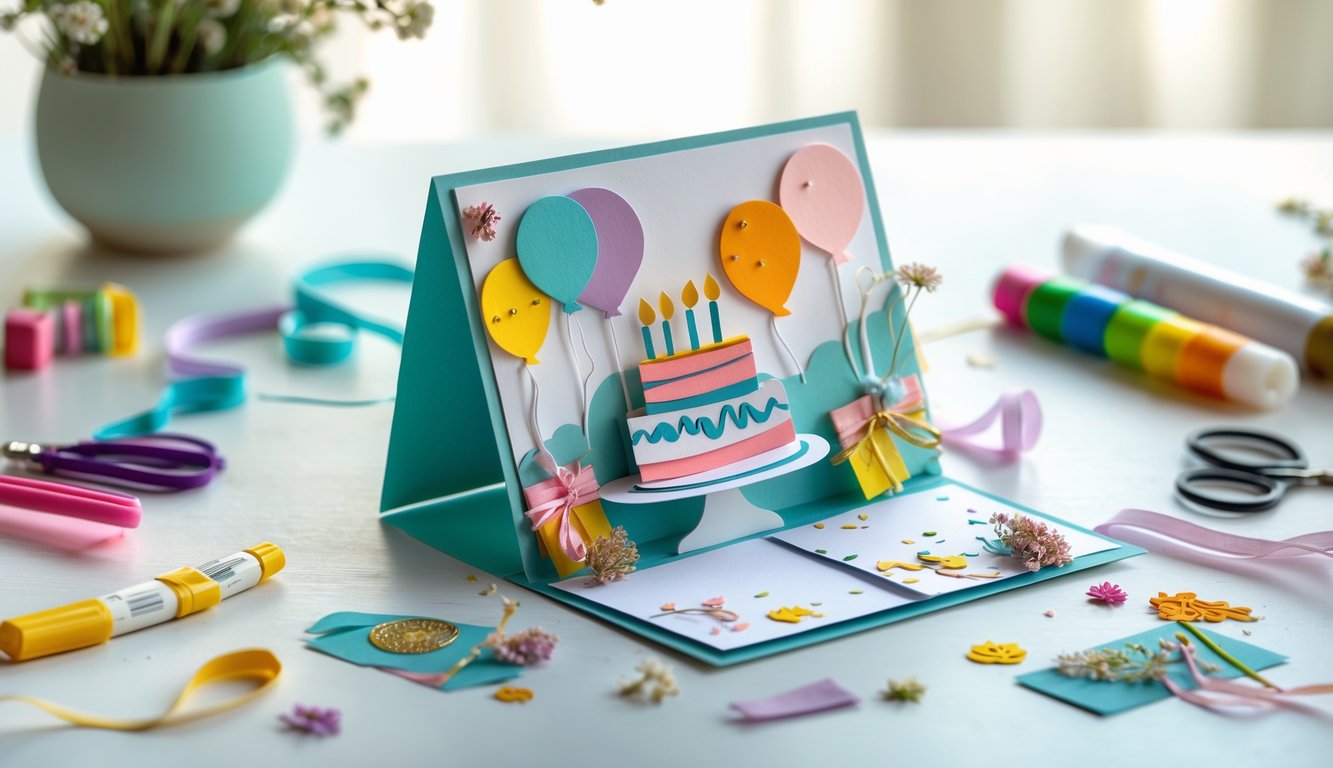
When you start designing a card, think about the person it's for. Simple supplies like colored paper, markers, and stickers can make the process easy and fun. If you want to go further, you can incorporate different materials or textures to make your card truly unique.
Don't forget the final touches. Personal messages, drawings, and embellishments like ribbons or glitter can make your card stand out. Explore, experiment, and enjoy the process of crafting these special keepsakes.
See our drawing and painting products here
Key Takeaways
- Handmade cards are more personal and memorable.
- Use simple supplies or experiment with new materials.
- Personal messages and embellishments enhance the design.
Getting Started With Handmade Birthday Card Design
Creating handmade birthday cards is a fun and personal way to show you care. With a few essential tools, the right cardstock, and a cozy creative space, you can design unique cards that leave a lasting impression.
Essential Tools and Materials
To start, gather basic supplies like scissors, glue, and double-sided tape. A paper cutter helps in making clean cuts, while rulers ensure precision. Decorative elements like stamps, punches, and stickers add flair.
Consider investing in a bone folder for creating sharp folds. Markers, colored pencils, and watercolors offer a personal touch. LindeHobby offers affordable tools and materials, perfect for any budget.
Keep a variety of embellishments on hand. Try buttons, sequins, or ribbons to add texture. With these essentials, your creative possibilities are endless.
Choosing the Right Cardstock
Selecting the appropriate cardstock is crucial. For sturdy cards, aim for heavyweight cardstock around 80-110 lb. Thickness is important for durability, especially if you plan to add embellishments.
Choose plain or patterned options based on your design. Bright and bold colors create a joyful look, while pastels offer a softer touch. Textured cardstock adds dimension. LindeHobby stocks a wide range of these options at great prices.
Consider the recipient's preferences to make the card more special. Customized cards reflect thoughtfulness and care.
Setting Up Your Creative Workspace
A well-organized workspace boosts creativity. Find a quiet spot with good lighting. Ensure you have enough space to spread out your materials.
Keep tools within reach. Storage solutions like drawers or organizers can help keep things tidy. With easy access to everything you need, designing becomes more enjoyable.
Adding personal touches to your space can inspire creativity. Place a few photos, a vision board, or samples of past projects nearby. Your workspace should be a place that invites creativity and relaxation.
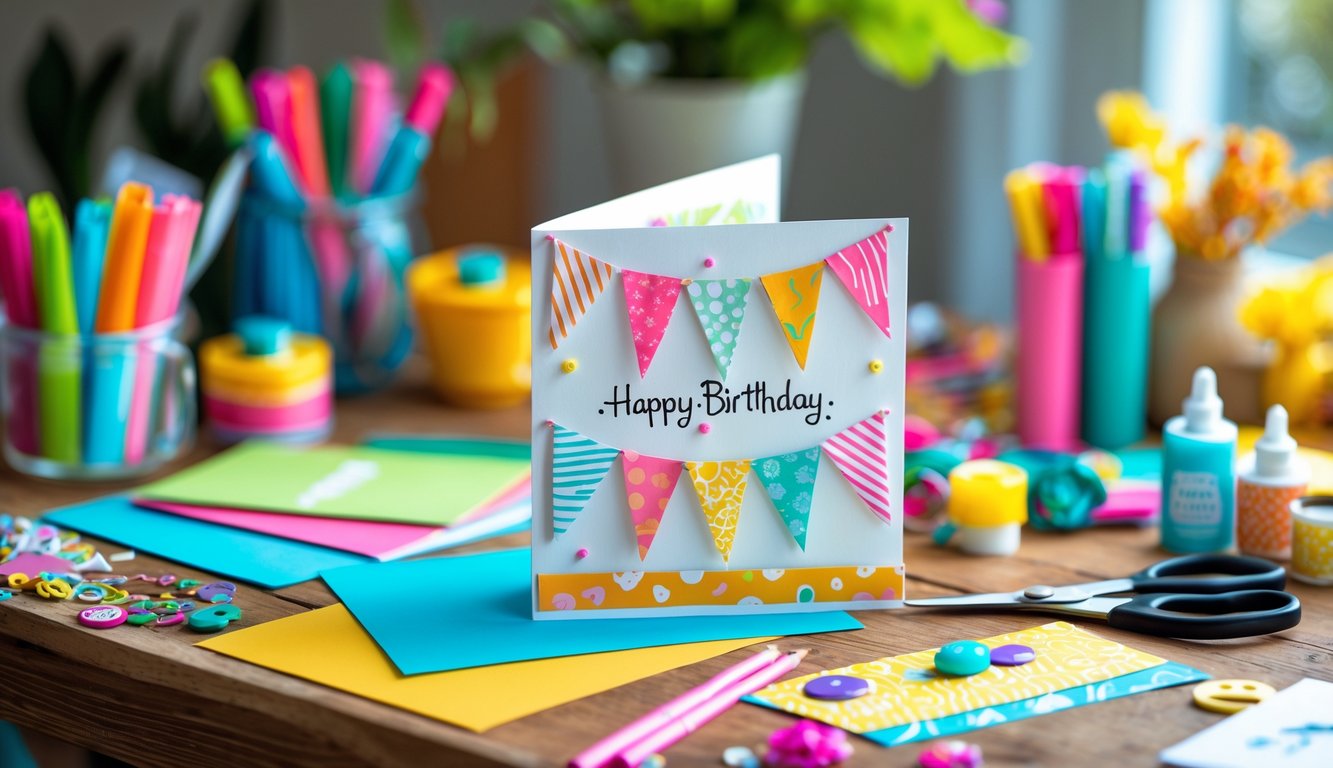
Creative Techniques for Handmade Birthday Cards
Creating handmade birthday cards can be a rewarding hobby. Using layering, calligraphy, stamping, and mixed media can make your cards stand out. These techniques help add depth, style, and texture to your designs.
Layering and Collage Ideas
Layering adds depth to your cards. You can use different papers and fabrics to build interesting backgrounds. Try patterned paper or washi tape for variety. Start by cutting shapes or layers in different sizes. Stack them with foam adhesive to create a 3D effect.
Collage techniques are a fun way to use scraps. Mix photos, magazine clippings, or even pressed flowers. Use a glue stick or thin double-sided tape for clean edges. This method is ideal for featuring a series of related images or messages. Experiment with color palettes for a cohesive look.
Hand Lettering and Calligraphy Basics
Hand lettering adds a personal touch to your cards. You only need a few tools to get started: a set of brush pens or a basic calligraphy pen set. Start by practicing simple lines and strokes on scrap paper.
Once comfortable, write short phrases like “Happy Birthday” using a mix of uppercase and lowercase letters. Use light pressure for thin lines, and press harder for thick lines to create graceful strokes. A lightly dotted pencil guide can help keep your words straight. Remember, practice makes perfect, so keep experimenting with different styles and layouts.
Incorporating Stamping and Embossing
Stamps add a unique flair to your cards. Choose from a wide range of stamp designs, such as flowers, balloons, or birthday cakes. Make sure to select a quality ink pad that won't smudge. To make your card truly special, add embossing. Sprinkle embossing powder over wet inked areas and use a heat gun to set it.
This creates a raised, glossy texture that stands out. Embossing is simple and impresses with its professional look. Experiment with metallic powders for a touch of sparkle. Both stamping and embossing are perfect for borders, accents, or focal points.
Adding Texture With Mixed Media
Mixed media introduces exciting textures to your cards. Use materials like fabric, metal leaf, and glitter to embellish your designs. You can sew fabric pieces directly onto the card using a basic stitch if you like sewing.
For metal leafing, apply a thin layer of glue, place the leaf, and brush away the excess. To add glitter, try using glue pens for precise application. Layer acrylic paint or watercolors to create interesting backgrounds. Using mixed media can make your cards more vibrant and appealing.
Thinking about budget? Start small with basic supplies, then expand as you grow more confident. Remember, LindeHobby offers a wide range of materials to fuel your creativity at any level. Dive into your next project with excitement and explore the wonderful world of handmade birthday cards!
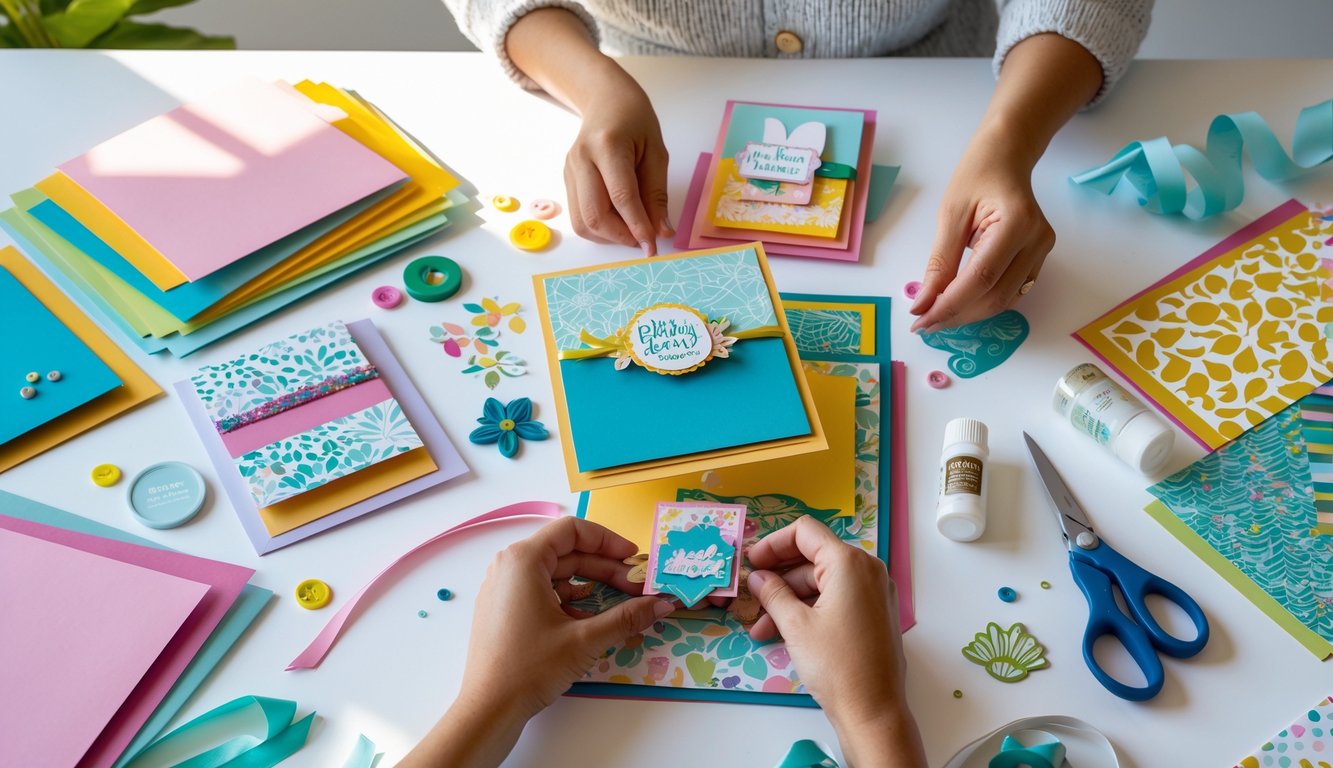
Personalization and Finishing Touches
Creating handmade birthday cards allows for endless personalization and unique finishing touches. These details can turn a simple card into something truly special. Explore ways to incorporate personal touches like photographs, choose inspiring color palettes, and learn inventive techniques for decorating envelopes.
Using Photos for a Personal Touch
Including photographs in your handmade birthday cards adds a meaningful layer. Choose a picture of a shared memory or a special event. Print the photo to fit neatly on the card, ensuring it's not too big to overshadow other design elements.
Use double-sided tape to securely attach the photo. Consider framing it with a colored border that matches the card’s theme. This little trick helps the photo stand out while keeping it harmonized with the rest of the design.
Adding stickers or small embellishments around the photo can give it a playful feel. Look for craft supplies from LindeHobby to find the right decorations. Using personal photos lets you create cards that your loved ones will treasure.
Inspiring Color Palette Choices
Colors set the mood and tone of your birthday cards. Start by choosing colors that the recipient loves. This makes your card feel personal. Bright colors like yellow and orange add energy, while blues and greens can be calming.
If you're unsure about color combinations, start with a basic color wheel. Complementary colors, like blue and orange, often look good together. For a simple palette, you might start with just two colors and add accents with a third.
Materials like colored paper, markers, and paints from LindeHobby can offer great inspiration. Experiment with shades and try mixing textures for a richer effect. Using colors wisely makes your card exciting and eye-catching.
Envelope Decoration and Presentation
The envelope is the first thing the recipient sees; make it as special as the card. Decorating envelopes can be simple yet impactful. You might add colorful washi tape along the edges or use stamps to create patterns.
Hand-lettering the recipient's name adds a personal touch. Practice a few times on scrap paper before writing directly on the envelope. Stickers or small doodles can add charm without being overpowering.
LindeHobby has all the tools and accessories needed to elevate your card presentations. Remember, a beautifully decorated envelope builds excitement and anticipation for the unique card inside.

