How to Do Crewel Embroidery: A Passionate Guide for Craft Enthusiasts
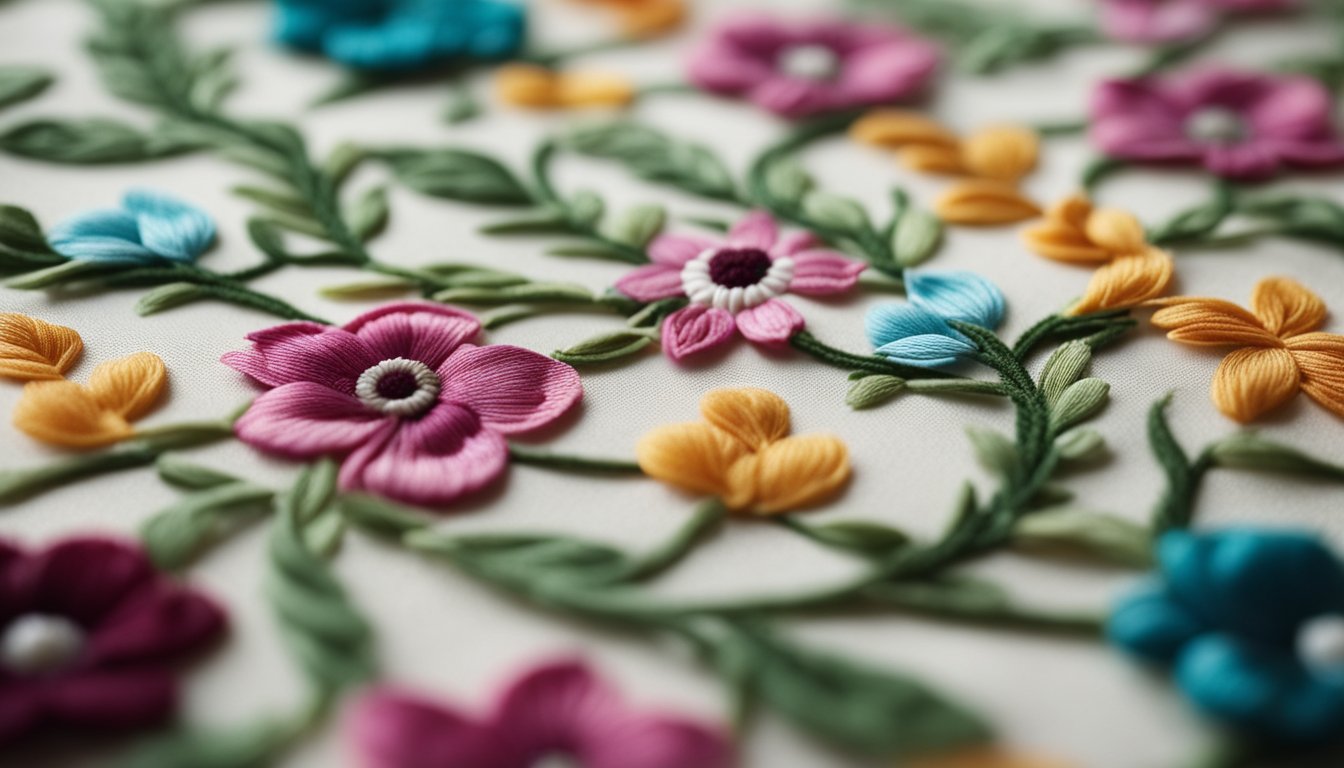
Crewel embroidery is a delightful way to express your creativity with needle and thread. This centuries-old craft lets you create beautiful, textured designs on fabric using wool yarns.
With a few basic stitches and some high-quality materials, you can bring intricate patterns to life.
To start crewel embroidery, all you need are some simple materials like a hoop, wool yarn, and a needle.
Engaging in this craft is not only a calming activity but also offers a sense of accomplishment. You’ll discover that mastering the basic stitches is a relaxing and fulfilling experience.
Designing your own embroidery project allows you to experiment with different techniques and colors, making each piece uniquely yours. Whether you’re looking to embellish clothing or create decorative home pieces, your embroidery will always have a special touch.
If you’re eager to get started, look no further than Linde Hobby for all your crafting supplies. Every stitch you make is a step closer to completing a project that's both beautiful and personal.
You’ll find everything you need from budget-friendly kits to premium selections. Dive into the world of crewel embroidery, and let your creativity shine with each thread you weave.
Key Takeaways
- Basic materials needed are a hoop, wool yarn, and a needle.
- Experiment with colors and techniques for unique designs.
- Find all your crafting supplies at Linde Hobby.
Gathering Your Materials
Starting your journey into crewel embroidery requires the right supplies. Key elements include the fabric, threads, and tools.
With proper materials, your project will be easier and more enjoyable. Consider different options to find what works best for your needs.
Choosing the Right Fabric
When it comes to selecting fabric, you want something durable. Linen or cotton twill are popular choices because they hold the stitches well and are easy to work with. These fabrics provide a stable base that helps your embroidery stand out.
Look for a fabric with a medium-weight weave. This allows your needle to pass through without too much resistance, making it easier for you to manage your stitching.
Remember to select a color that complements your thread choices. Neutral tones often work well, ensuring the embroidery thread colors are vibrant and prominent.
At Linde Hobby, you can find various fabric options suited for different project styles.
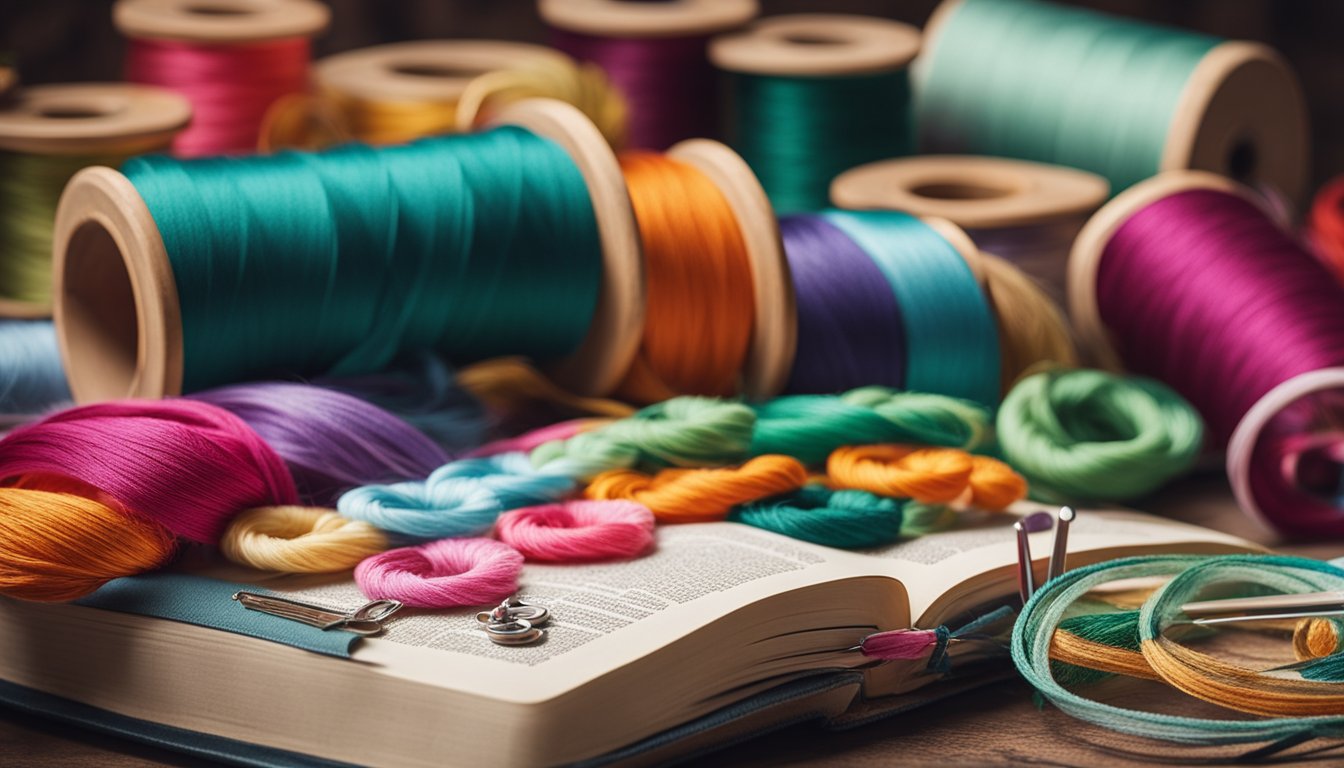
Selecting Embroidery Threads
Crewel embroidery traditionally uses wool threads. These threads are thicker than standard embroidery floss, giving your design a textured, bold appearance.
Consider wool that is soft yet durable for a smooth finish.
Browse Linde Hobby for a selection of colors ranging from subtle pastels to bright and bold hues. Mixing colors gives your work depth and interest.
When selecting threads, check the quality to ensure they are strong enough not to break while stitching. Budget-friendly options are available for beginners, while premium threads can add luxury to advanced projects.
Essential Tools for Crewel Work
Having the right tools makes your embroidery projects more enjoyable. An embroidery hoop is essential to keep your fabric taut, helping you maintain an even tension in your stitches.
You also need crewel needles, which have a sharper point and larger eye to accommodate wool threads. Scissors with a sharp, pointed tip are necessary for precise cutting.
A thimble can protect your fingers during long sessions.
Explore Linde Hobby for versatile stitching kits that offer everything you need, whether you are just starting out or advancing your skills.
Mastering Basic Stitches
Understanding the basic stitches in crewel embroidery is key to creating beautiful designs. You'll need to become familiar with the chain stitch, satin stitch, and French knot, essential techniques that form the foundation of your embroidery skills.
Learning the Chain Stitch
The chain stitch is often the first stitch beginners learn. It forms a linked series which looks like a chain, making it perfect for outlines and borders.
To start, thread your needle with wool, and make a knot at the end. Bring the needle up through the fabric to the front.
Create a loop by inserting the needle back through the same hole and bringing it up at your desired stitch length, pulling the wool through the loop. Pull gently to adjust the size.
Repeat the process, keeping each loop even to maintain consistency. Practicing uniform stitches will make your designs look neat.
Explore different yarn colors from Linde Hobby to add vibrancy to your chain stitches. With practice, you can expand to more complex styles!
Perfecting the Satin Stitch
The satin stitch covers areas smoothly with long, straight stitches. It’s ideal for filling in leaves, petals, and other shapes.
Begin by marking the shape you wish to fill on your fabric. Come up with the needle at one edge and go down directly across at the opposite edge.
Continue working from side to side, laying each stitch close to the previous one. Keep tension steady but not too tight to prevent puckering.
Use the satin stitch with different yarn weights from Linde Hobby to achieve varied textures.
For added richness, try blending multiple shades in the same section. This technique is not only visually appealing but also adds depth to your work.
Practicing the French Knot
The French knot is a small, knotted stitch, useful for creating details like eyes or flower centers.
To make a French knot, start by bringing your needle to the front of the fabric. Wrap the yarn around the needle twice, keeping it taut.
Insert the needle back into the fabric very close to where it emerged and pull gently while holding the wraps in place with your fingers. This action creates a tiny knot that sits on the surface.
Using different yarn colors from Linde Hobby can enhance the appearance of the knots in your work. Practice will help you get the size and tension just right, making your embroidery stand out.
Designing Your Project
Designing your project is an important step in crewel embroidery. Carefully transferring patterns and selecting the right colors and textures can make your work stand out.
Transferring Patterns to Fabric
Start by picking a design that inspires you. Linde Hobby offers a range of beautiful patterns suitable for all skill levels.
Use a light-tracing method to transfer the pattern. Place fabric over the design and use a transfer pen to trace it. For darker fabrics, try iron-on transfer paper, which makes the process easier.
Beginner tip: Practice on a scrap fabric first to avoid mistakes. Also, don't press too hard with your transfer tools to keep the fabric neat.
Choosing the right fabric is key. Opt for natural fibers like linen or cotton, as they hold stitches well. Test different methods to see which one suits you best.
Selecting Colors and Textures
Colors and textures bring your design to life. Experiment with different shades and types of yarn to achieve the desired effect.
Consider using wool, silk, or cotton threads. Wool adds rich texture and volume, while silk provides a smooth, shiny finish. Cotton offers versatility and ease of use.
Create a palette by selecting a few primary colors, then add secondary accents for depth. Feel free to mix traditional and bold colors for a personal touch.
Explore Linde Hobby's selection for high-quality, affordable yarns suitable for every budget. This ensures your project is both stylish and affordable.
Using a variety of stitches also adds texture, giving your piece a unique look. Start with basic stitches and gradually try more advanced techniques as your confidence builds.
Crewel Embroidery Techniques
Crewel embroidery is an enjoyable way to create beautiful designs using wool thread on fabric. With a few techniques, you can effectively start your artistic journey. Learn about framing, needle handling, and adding finishing touches. These methods will help you achieve attractive results and present your work with confidence.
Framing and Hooping Your Work
To start crewel embroidery, it's essential to use a hoop or frame. These tools keep your fabric taut, making it easier to stitch accurately.
Choose a hoop or frame that best suits your project size. A good rule of thumb is for the hoop to fit comfortably in your hand, ensuring it doesn’t strain your wrist.
Place your fabric over the inner hoop and then press the outer hoop over it. Tighten the screw to keep the fabric tight until it feels like a drum.
This tension helps in creating even stitches. Always check for wrinkles by gently pulling the fabric and adjusting the hoop as needed.
Use frames for larger projects. Stretch and secure the fabric, ensuring it remains tight. Having a stable work area will help maintain the quality of your design. Linde Hobby offers a variety of affordable hoops and frames to get you started.
Handling the Embroidery Needle
Choosing the right needle matters in crewel embroidery. Use crewel needles, which have wider eyes to accommodate thicker wool threads.
For beginners, size 6 or 7 needles work well. Practice threading the needle so the wool slides easily through the fabric, preventing unnecessary tugs that might disturb the material.
When sewing, hold your needle with a relaxed grip. Insert the needle at the start of your design line, then bring it up through the next stitch point.
Keep stitches consistent in length by measuring with your needle tip. Use simple stitches like the stem stitch or chain stitch to begin.
Switch up thread colors for dynamic designs. Keep wool threads a manageable length to avoid knots and tangles.
Explore our selection of tools and needle options perfect for every project stage at Linde Hobby.
Finishing Touches and Presentation
Completing your crewel project involves trimming any loose threads. Carefully knot and tuck them on the back of your work.
Iron gently on the reverse side to smooth out wrinkles without flattening the texture.
Position your finished piece in a frame for display. Choose frames that complement the colors and patterns of your design.
This adds an elegant touch and protects your work from dust and damage.
Hang the piece in a well-lit area for full impact.
Extend the enjoyment of your project by using it as home décor.
Consider framing a set of smaller pieces for a colorful wall gallery.
Linde Hobby provides versatile frames and collections that help highlight your embroidery’s unique charm.
Explore our supplies to enhance your creativity today!

