French Knots Needlepoint: Mastering This Delicate Stitch with LindeHobby
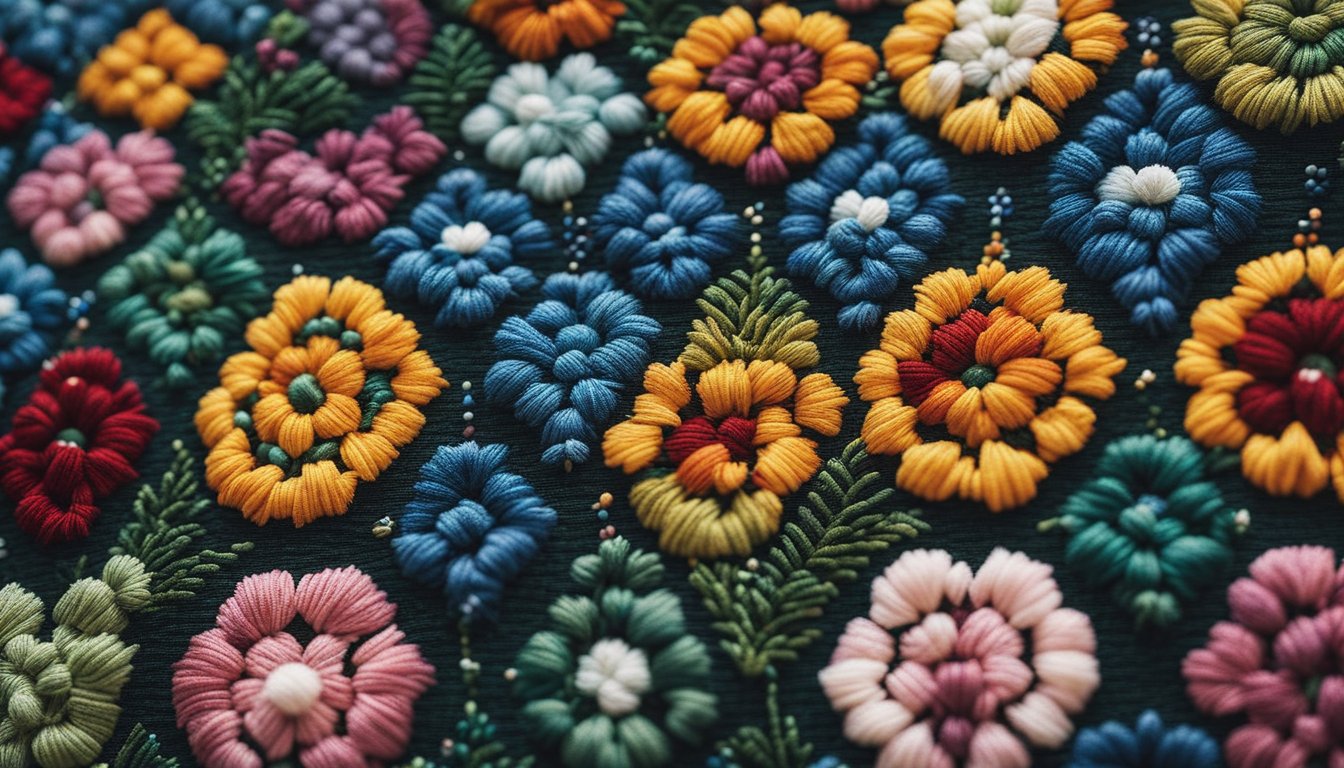
Creating beautiful and intricate designs in needlepoint can be a rewarding experience, especially when you include French knots. These small yet impactful stitches bring texture and dimension to any piece, turning a simple project into a stunning work of art.
Mastering the French knot opens up a world of creativity and detail in your needlepoint adventures.
When starting with French knots, selecting the right materials is crucial. You'll need quality embroidery floss, a needle, and a canvas that holds up well to detailed stitching.
This craft offers not only a creative escape but also a chance to enhance your home décor with personalized touches. Imagine adding a touch of elegance to pillows, artwork, or clothing through intricate needlepoint designs.
The skills you learn in needlepoint, such as the French knot, are as relaxing as they are practical. It’s a chance to unwind while making something uniquely yours.
At LindeHobby, you'll find everything you need to get started—whether you're a beginner or a seasoned enthusiast. Explore our collection of supplies and begin your creative journey today.
Key Takeaways
- French knots add texture and detail to needlepoint designs.
- Quality materials are essential for achieving the best results.
- Needlepoint is both a creative and relaxing hobby.
Materials and Tools for French Knots
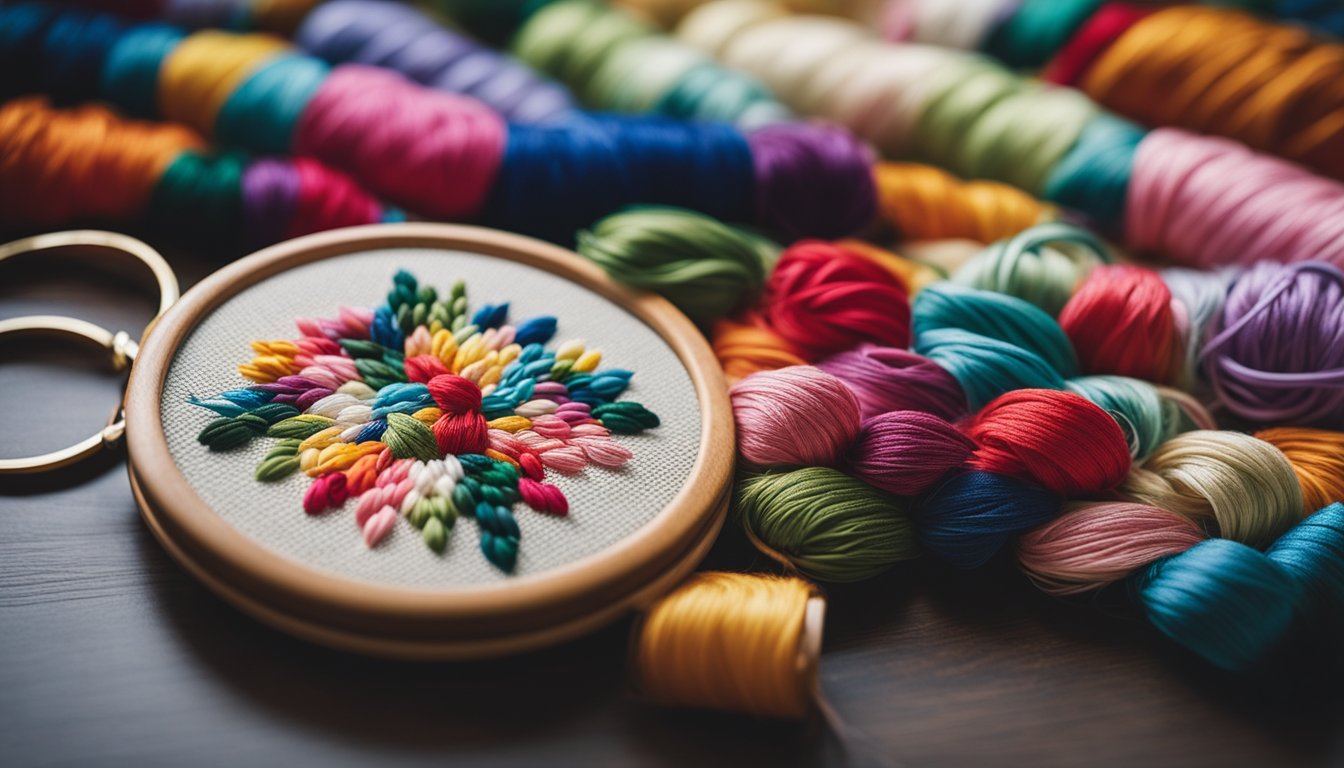
French knots add a lovely textured detail to your needlepoint projects. The right tools and materials make all the difference in creating neat, consistent knots.
From choosing the perfect needle to picking the best thread and fabric, each element plays a crucial role in your crafting success.
Choosing the Right Needle
Selecting the right needle is essential for effortless French knots. You will want a needle with a sharp tip to easily pierce through fabric and a large enough eye to accommodate your embroidery thread.
A #3-#9 embroidery needle works well for most projects.
Needle sizes can vary, so if you are working with thicker thread, consider a needle with a larger eye. This will make threading easier and prevent frustration as you work.
For added accessibility, look for easy-thread needles at LindeHobby, which can make this step even smoother for beginners.
Selecting Thread Types
Choosing the right thread for your French knots will give your design richness and depth. Embroidery floss is a popular choice because of its sheen and wide color range. It usually comes in six strands, but you can separate them to adjust the thickness.
If you prefer a matte finish, try using pearl cotton. This thread is non-divisible, meaning it comes in single strands that provide consistency and durability.
For budget-friendliness, consider trying starter kits that mix multiple thread types.
Keep an eye out for thread packs at LindeHobby, offering you a selection of quality threads for any budget.
Fabric Considerations
The fabric you choose sets the foundation for your work. Linen and cotton are top picks due to their weave and durability. A finer weave fabric like linen will give you a smooth finish, while cotton offers robust support—great for learning and practicing.
When you're just starting, you might want to choose a fabric with a clear weave, making it easier to count threads and place your knots.
Layer your work between an embroidery hoop for best tension practices, allowing you better control over each knot.
Visit LindeHobby to explore a selection of beginner-friendly and more premium fabric options to suit your project's needs.
Mastering the French Knot Technique
The French knot is a beautiful stitch used in needlepoint and embroidery. It's perfect for adding texture to your designs. With some practice, you can master this technique and elevate your projects.
What You Need
- Needle: A sharp embroidery needle works best.
- Thread: Use any color or thickness to suit your design.
- Fabric: Choose a fabric with a tight weave for best results.
Step-by-Step Guide
- Thread the Needle: Double or single thread, depending on your preference.
- Bring the Needle Through: Start from the underside of the fabric and pull the needle up.
- Wrap the Thread: Wrap the thread around the needle one or two times.
Tip: Holding the fabric taut can help keep the knot tight.
- Push the Needle Back: Insert it close to the starting point but not in the exact hole.
- Pull Tight: Slowly pull the needle through, keeping the wraps snug.
Practice Makes Perfect
Your first few knots may not look perfect, and that's okay. Practice will make your knots more even.
Versatile Applications
Use French knots to create eyes on embroidered animals, decorate floral patterns, or add accents to letters. They add a three-dimensional element to any project.
Shop with LindeHobby
Browse our wide selection of embroidery supplies to find everything you need for your next project. Whether you're a beginner or seasoned pro, we've got you covered. Get inspired and start creating today!
Incorporating French Knots into Designs
French knots can add beautiful texture and visual interest to needlepoint projects. They are perfect for fine details and can be used in creative ways to bring designs to life.
Pattern Integration
Begin by choosing patterns that highlight French knots. Flowers, animals, or intricate designs benefit from the depth French knots provide. Choose simple patterns if you are new to them. Focus on areas where the knots can enhance the design.
Use a color that contrasts or complements the main parts of your design. Patterns with specific knot placements often look more professional. Remember to keep tension consistent to avoid uneven knots.
Combining with Other Stitches
Mixing French knots with other stitches creates dynamic designs. Pair them with satin stitches for bold, raised elements.
You might use cross stitches for structure and French knots to add detail. This combo can transform flat designs into textured masterpieces.
For lively pieces, use French knots as accents among running stitches or backstitches. These combinations can give your project both detail and richness.
Creating Texture and Dimension
French knots excel at adding texture. Use varied thread thicknesses for different effects. Thick threads create chunky, prominent knots, while thin threads offer delicate touches.
Vary knot sizes by wrapping the thread more than once around the needle. This makes each knot stand out on its own.
Mix sizes and thread types to craft a unique, multi-dimensional look. They can mimic features like eyes or flower centers, giving your design authentic detail.
Try these techniques to creatively incorporate French knots and enhance the look of your projects. Take advantage of LindeHobby's great selection of tools and materials to get started. Explore our extensive collection of yarn, needles, and accessories. Whether you're a starter or seasoned crafter, LindeHobby is here to support your creations.
Caring for Needlepoint with French Knots
When you care for needlepoint decorated with French knots, focus on gentle washing, proper framing, and restoration. Delicate handling ensures your work remains beautiful for years. Whether you are a beginner or experienced, these steps make looking after your creations easy and satisfying.
Washing and Cleaning
Needlepoint with French knots is beautiful yet delicate. Cleaning must be gentle to protect the threads and preserve their texture.
Hand washing in cold water is best; use mild, gentle soap. Avoid harsh scrubbing to prevent damage to knots.
Rinse thoroughly and press between towels to remove excess water. Air dry flat, away from direct sunlight, to prevent fading. For stubborn stains, test a small area first. Professional cleaning is advisable for more extensive work to ensure preservation.
Framing and Displaying
Display your needlepoint to show its detailed beauty while also protecting it. Choose a frame slightly larger than the piece to prevent crowding the design. Opt for mats that complement the colors of your work.
Use UV-protective glass to shield from light damage. Proper framing maintains the shape and protects the threads from dust. Hanging in a spot with moderate light keeps the colors vibrant. Keep it away from direct sunlight and moisture for long-lasting beauty.
Repair and Restoration Tips
Over time, needlepoint may need some touch-ups.
Loose knots can be gently tightened using a needle. Matching thread is key when replacing yarn to keep your design consistent. If you have substantial damage, consider a local needlework professional.
For general upkeep, examine your piece every few months.
Dust it gently with a soft brush to keep it fresh and lively. Always store any spare thread from the original work; it’s invaluable for future repairs.
Embrace the challenges of needlepoint care by viewing each as a chance to reconnect with your craft.

