How to Crochet a Border on a Blanket: Enhance Your Craft with LindeHobby's Expert Tips
Crocheting a border on a blanket is a fantastic way to add a unique touch to your homemade creation. Beginners and experts alike can enjoy the meditative experience of crocheting while enhancing the blanket’s design and functionality. Adding a border is as simple as crocheting the edge, which not only hides imperfections but also gives a polished look. Whether you're gifting a newborn blanket or sprucing up an old favorite, these steps will guide you to a beautiful finish.
The right border can complement any blanket style, making it a versatile project for different tastes. Plus, crocheting a border lets you explore new patterns and colors, which can be a fun creative challenge. With just a few basic supplies, you can transform your blanket into a masterpiece that reflects your personality.
Give your blanket the finishing touch it deserves. With options for various skill levels and budgets, you’ll find everything you need at LindeHobby to complete this cozy project. Browse our wide selection of yarn, hooks, and patterns to get started today!
Key Takeaways
- Understand the basics of crochet borders
- Prepare with the right materials and techniques
- Enhance your blanket with creative border designs
Understanding Crochet Borders
Crochet borders provide a neat finish to your blanket and can be simple or elaborate. Focus on finding the right yarn, pattern, and type to complement your main project.
Types of Crochet Borders
There are many types of borders you can use, ranging from simple to intricate designs. Single crochet and shell stitch are great for beginners. If you're more experienced, you might like the picot edge or lace border patterns.
Different borders create different looks. Try experimenting with various styles to see what suits your blanket best. Use swatches to test how each border looks with your main pattern. This can save time and prevent disappointment later.
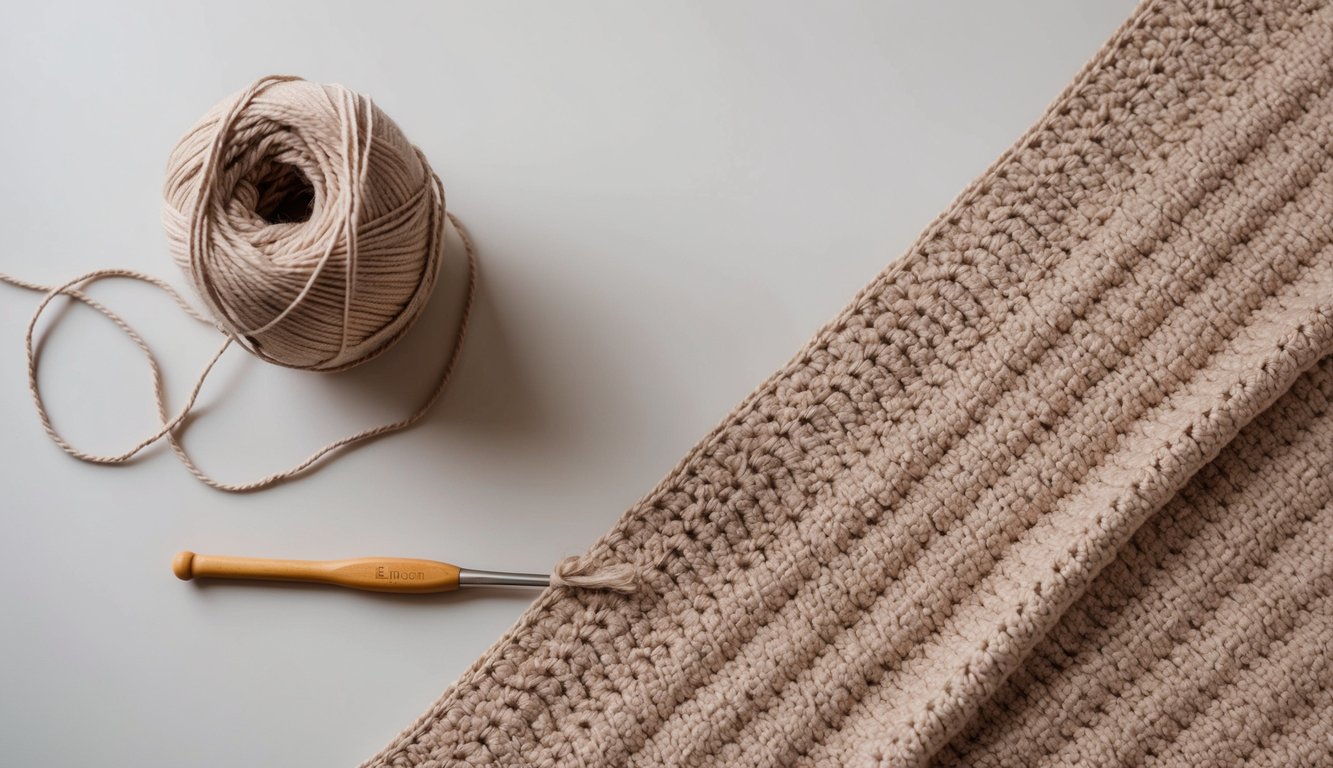
Choosing the Right Yarn
Yarn choice impacts the border’s look, durability, and texture. Select a yarn that matches or contrasts with your blanket. Cotton yarns give a crisp finish, while acrylic yarns are softer and more flexible. Both types are available at LindeHobby, offering quality and affordability.
When choosing yarn, check the fiber content, ply, and weight. For added charm, consider adding a pop of color or texture. This can make your project unique and visually appealing.
Selecting a Border Pattern
Finding the right pattern is key to achieving the perfect finish. Search through pattern books, online resources, or LindeHobby’s recommendations. Patterns like ripple and scalloped borders are popular for their elegance.
Begin by considering your skill level and the blanket's design. A complex pattern may overwhelm a simple blanket, while a simple border might not stand out on an intricate design. Consider factors like repeatability and difficulty to ensure a smooth process.
For added interest, combine different stitches. This creates depth and character, enhancing your finished piece. Mix patterns with caution to maintain harmony in your project. Doing this can elevate your craft to the next level.
Preparing to Crochet Your Border
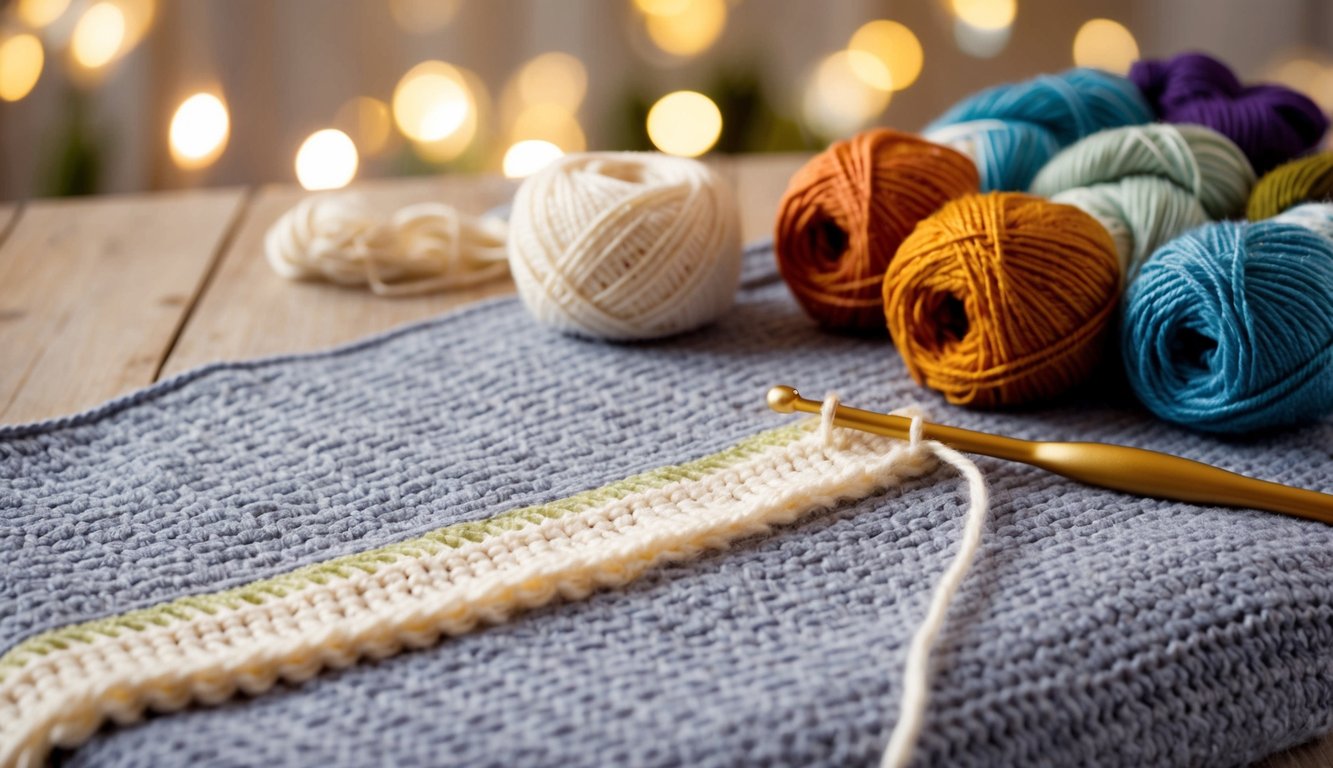
Creating a crochet border for your blanket adds a lovely finish and strengthens the edges. To start, you'll need to gather your crochet supplies, measure the edges of your blanket, and review some basic stitches. Each step ensures you have everything you need for a smooth and enjoyable project.
Gathering Supplies
Begin with choosing yarn that complements your blanket. Consider colors that blend well or create a bold contrast. At LindeHobby, you'll find a variety of yarn options in different textures and colors. Also, don't forget a crochet hook that matches your yarn's thickness. Using the right hook size is crucial for consistency and the final look of the border.
You'll also need a tape measure, scissors, and stitch markers. These help in keeping track of your progress and ensure accuracy. Ensure your workspace is well-lit and comfortable. Preparing these tools allows you to focus on the fun part—crocheting your border.
Measuring Your Blanket Edges
Measure each side of your blanket to know how much yarn you’ll need for the border. Use a soft tape measure for ease and accuracy. If your blanket has curved edges, add a little more yarn to accommodate them.
Create a simple image or chart if needed to record each measurement. This makes it easier to calculate the total yarn requirement. With this information, you can plan your project budget and make sure you have enough yarn from LindeHobby to complete your border.
Basic Stitches Review
Before diving in, refresh your skills with some basic crochet stitches. Focus on single crochet, double crochet, and slip stitch. These are versatile and common stitches used in many border patterns. If you’re new, these stitches are beginner-friendly and build a solid foundation for future projects.
There are many tutorials and guides available to practice these stitches. Use a swatch to test and perfect them before starting your border. This practice ensures that your stitches are even and makes your border look neat. Remember, you can find all the necessary supplies and patterns at LindeHobby to enhance your crocheting skills.
Creating Your Border
Adding a border to your crochet blanket can enhance its appearance and increase its durability. You will learn how to start the border, explore different crochet techniques, and solve common problems you may encounter.
Starting Your Border
Before you begin, choose the right yarn and hook. If your blanket has a tight stitch, a smaller hook might work better. A loosely stitched blanket could need a larger hook. Choose a yarn that matches or complements your main project.
Begin at any corner of your blanket. Secure your yarn with a slip knot and attach it with a slip stitch. This forms a neat join. Make sure your tension is steady; not too tight or loose. This helps your border lay flat.
Crochet the first round using single crochet stitches. This creates a strong foundation for your decorative border. If you notice curling or waviness, check your stitch count and adjust as needed. For example, try adding or removing stitches every so often to keep the edges even.
Crochet Border Techniques
Various border styles can give your blanket different looks. Choose based on your style and experience. Some popular techniques include:
- Shell Stitch: Offers a wavy, decorative edge.
- Picot: Adds small, pointed loops.
- Reverse Single Crochet (Crab Stitch): Gives a rope-like look.
To crochet the shell stitch, work five double crochets in one stitch, skip two stitches, then single crochet in the next. Repeat this pattern around the blanket. For picots, chain three after a stitch, and slip stitch back to the first chain. This creates a small loop.
Keep your tension consistent. Uneven tension can make your border look sloppy. If you're new to these techniques, practice on a small swatch before starting on your blanket.
Troubleshooting Common Issues
Crochet borders can sometimes be tricky. Edges might curl, or your border may bunch up. If this happens, check your hook size. A larger hook can help loosen tight stitches.
If your border is wavy, count your stitches on each side. Uneven counting leads to an uneven border. Ensure you have the same number of stitches on opposite sides for balance.
Consider using stitch markers to keep track of your corners and sides. This helps avoid stitch loss or adding too many. If you see gaps or holes, it may be due to inconsistent tension or skipping stitches. Go back and make adjustments as needed.
If you're unsure about your results, consult online tutorials and join crochet communities for feedback and support. Visit LindeHobby to find more inspiration and supplies for your crochet projects. Browse our wide selection of yarns and hooks to start your next project today!
Finishing Touches
Adding the final touches to your crochet blanket can make a big difference in how it looks. Securing the border keeps it neat, while weaving in the ends gives it a clean finish.
Securing the Border
To keep the border firm and tidy, ensure that your stitches are even and consistent. You can use a slip stitch or single crochet to attach the border securely. Make sure the stitches are tight but not too snug to avoid any puckering. Choose a yarn color that complements the blanket, which you can easily find at LindeHobby with a wide variety of colors to choose from.
If you're using a specific pattern, follow the steps closely. Remember to check the tension of your work. A proper tension ensures the edges remain straight without waving or curling. For beginners, starting with a simple border pattern can help. With practice, you can explore more intricate designs that add flair and style.
Weaving in Ends
When you finish crocheting, you'll have ends of yarn that need weaving in. This step is essential for a polished look. Begin by threading a yarn needle with the yarn tail. Weave it in and out of the stitches at the back of the work. Aim for at least 3-4 inches of weaving to ensure it stays secure.
Trim any excess once you've tucked the ends sufficiently. Consider using a contrasting yarn for a fun pop if you want a decorative look. Keep in mind that weaving in ends effectively can prevent your work from unraveling later. Stock up on quality yarn needles at LindeHobby to make this process smoother and faster.

