How to Crochet a Dinosaur: Bring Jurassic Magic to Your Hobby Collection
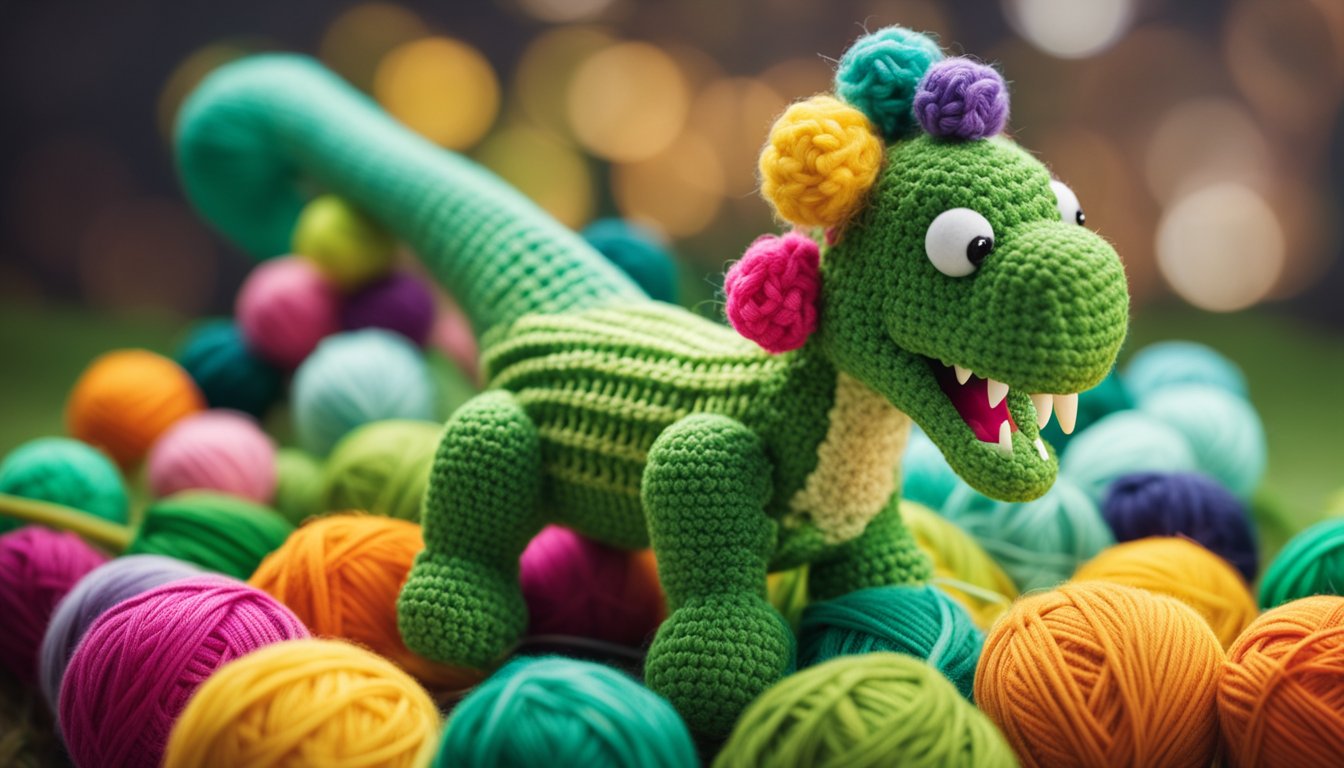
Creating a crochet dinosaur is an exciting way to dive into the world of yarn crafting.
By following simple steps, you can make your own colorful dinosaur that adds charm to any space.
Whether you're a beginner or a seasoned crafter, crocheting offers a fun and creative outlet.
To start, you'll need some basic materials, like yarn and a crochet hook.
Every crafter can find affordable options that fit their budget, helping you build your collection.
You can find all these supplies at LindeHobby, ensuring you have everything you need.
Crochet is not just about making an adorable dino. It's a wonderful way to relax and express your creativity.
Discover different techniques and variations as you master the art of making your dinosaur.
Dive into this rewarding hobby today and let your imagination run wild.
Key Takeaways
- Learn simple steps to crochet a dinosaur.
- Gather affordable materials from LindeHobby.
- Enjoy creativity and relaxation through crocheting.
Gathering Your Materials
To make a crochet dinosaur, you'll need to pick out yarn, hooks, and other tools.
Selecting the right supplies can make a big difference in how your dinosaur turns out.
Let's look at each part and find what's best for your project.
Selecting the Right Yarn
Yarn Type: Choose yarn that is soft yet durable. Cotton and acrylic blends are great choices.
Consider starting with worsted-weight yarn, as it's thicker and easier to handle, especially for beginners. It also comes in various colors at LindeHobby.
Color Choices: Pick vibrant or earthy tones for your dinosaur. Test swatches to see how the colors look together. Color is important because it adds personality to your creation.
Amount Needed: For a small dinosaur, you might need about 100-150 grams of each color. Plan accordingly to avoid running out of yarn.
Explore our yarn collection here!
Choosing Crochet Hooks
Size: The hook size depends on the yarn. A 4 mm or 5 mm hook works well for worsted-weight yarn.
Smaller hooks make tighter stitches, while larger hooks give a looser finish. Match the hook size to your yarn’s label recommendations.
Material: Hooks come in metal, plastic, and wood. Try different types to see what feels best for you.
Ergonomic Hooks: If you crochet often, consider ergonomic hooks. They make crafting more comfortable and reduce hand strain, available in various styles at LindeHobby.
See all our crochet hooks here!
Additional Tools and Accessories
Stitch Markers: These handy tools help keep track of your rows and stitches.
Safety Eyes: If your dinosaur is for a child, consider using embroidered eyes instead for safety. Browse our tools section for a variety of options.
Stuffing: Polyester fiberfill works well to stuff your dinosaur. It’s soft and holds shape.
Tapestry Needle: Essential for weaving in ends. Look for ones with larger eyes to accommodate thicker yarn.
Remember to get a project bag to keep everything organized. Check out LindeHobby for any extras you might need.
Basic Crochet Techniques
Learning to crochet starts with mastering a few basic techniques. This section explores foundation chains, forming different shapes, and adjusting stitch counts to guide you through the essentials.
Foundation Chains and Stitches
Every crochet project begins with a foundation chain. To create this, make a slip knot on your hook and pull yarn through to form loops. The chain gives your piece its initial shape and size.
Common stitches include single crochet, double crochet, and half double crochet. Here's a simple list of how these are made:
- Single Crochet (sc): Insert the hook into a stitch, yarn over, pull through the stitch, yarn over again, and pull through both loops on the hook.
- Double Crochet (dc): Yarn over, insert the hook, yarn over, and draw through. Yarn over again, pull through the first two loops. Yarn over for the final time and pull through the last two loops.
Practicing these steps is key to creating smooth and even projects. LindeHobby offers a variety of hooks and yarns to make these first steps easier.
Creating Shapes and Textures
There are many ways to create interesting shapes and textures with crochet. For instance, by varying stitch height or working into different loops, you can get different looks.
To form shapes, like circles or squares, adjust your starting chain. A circle may start with a magic ring or a small loop, whereas a square might start with a longer chain. Textures like ridges can be achieved through front post and back post stitches.
The right choice of yarn can enhance these textures. Explore LindeHobby’s collection to find the perfect match for your dinosaur project.
Increasing and Decreasing
Shaping your dinosaur involves skillful increasing and decreasing. Increasing adds stitches and is done by placing more than one stitch into the same stitch of the previous row.
For decreasing, combine two stitches into one. To decrease (dec), start a stitch, pause before finishing, begin a new stitch, and finally pull through all loops on the hook.
This technique is essential for shaping limbs and body curves in your dinosaur crochet. Yarn from LindeHobby makes practicing these techniques simple and enjoyable.
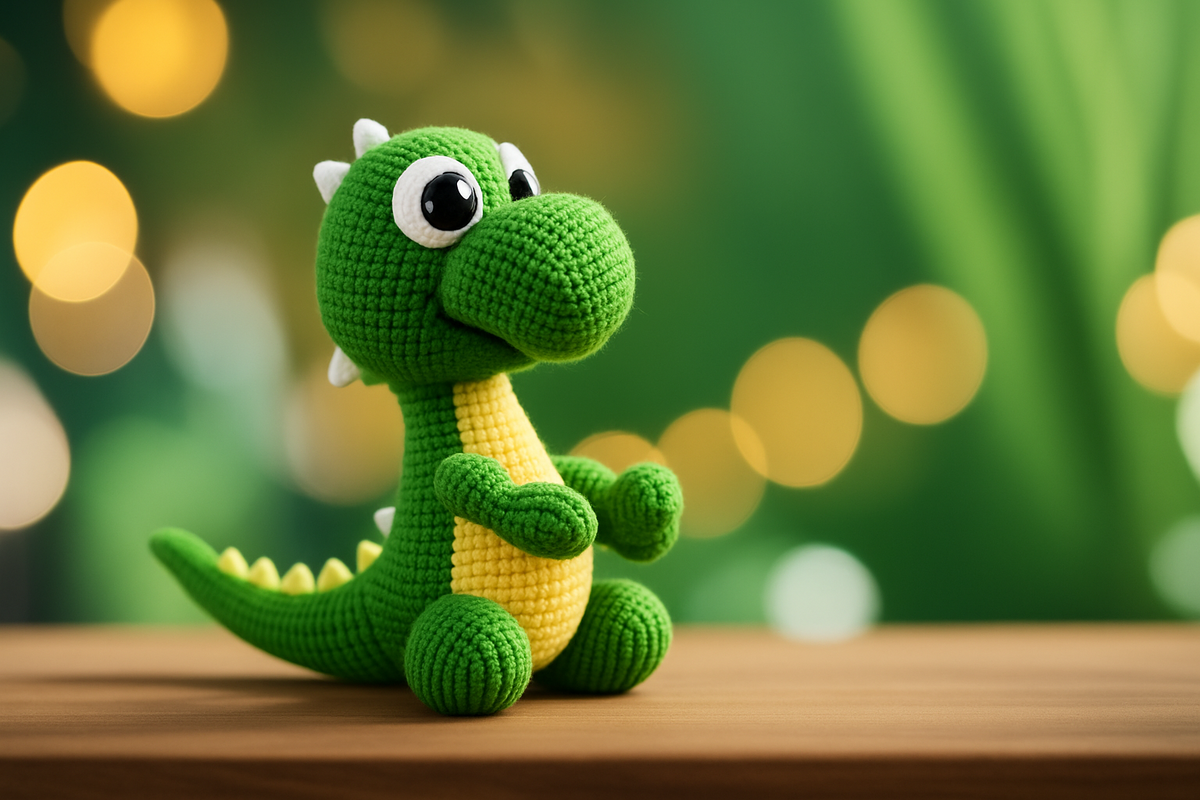
Crocheting Your Dinosaur
Creating a crocheted dinosaur involves a few key steps to bring this cute creature to life. It’s important to shape the body, head, tail, legs, arms, and add those playful features that make your dinosaur unique.
Starting the Body
To begin, you'll want to select a soft yet durable yarn. Many crafters choose materials such as cotton or acrylic for their plush texture.
Use a size G (4.0 mm) hook, ideal for medium-weight yarn. Start with a magic ring and crochet in continuous rounds to shape a firm, cylindrical body.
Increase your stitches evenly to widen the body, then decrease to shape it into an oval or circle. Ensure stitch count remains correct by using a stitch marker. This will help you keep track of rounds.
Forming the Head and Tail
The head is similar to the body but needs some adjustments to fit proportionally. Begin with a magic circle. Crochet rounds similar to the body and then adjust size by gradually increasing and then decreasing the rows.
Attach the tail by beginning at the back end of your body. Use slightly smaller stitches for tapering. A good tip is to add stuffing before fully closing the tail for that perfect, plump look.
Adding Legs and Arms
Crochet small tubes for legs and arms, ensuring a size that holds up the body. Again, start with magic rings to form rounded ends.
Use different stitch counts to give arms and legs dimension. You can attach them by sewing or stitching directly onto the body, ensuring they are aligned symmetrically—great for balance and appeal.
Crafting Dinosaur Features
Adding features brings your dinosaur to life. A small line of contrasting yarn along the back as spikes or a fringe can make an interesting addition.
Wide, safety eyes provide a friendly expression. Consider experimenting with different styles and colors for a more personalized look.
For a polished finish, consider sanding down any rough edges on eyes or accessories for safety.
Ready to get started? Browse our wide selection of yarns and hooks at LindeHobby to bring your dinosaur to life!

