How to Do Double Crochet: A Warm Guide for Passionate Crafters
Crocheting is a wonderful hobby that can fill your days with creativity and satisfaction. It's a fun and relaxing craft that lets you create beautiful items by weaving loops of yarn with a hook. If you want to try a simple and popular crochet technique, double crochet is a perfect place to start. The double crochet stitch is easy to learn and offers endless possibilities for making cozy scarves, airy blankets, or stylish bags.

To begin your double crochet journey, gather your yarn and hook. Choosing the right materials is important, and at LindeHobby, you'll find a variety of yarns and hooks suitable for any budget. A basic understanding of the double crochet stitch will help you quickly create lovely pieces with ease. By learning this stitch, you open the door to new patterns and projects.
Starting your double crochet project is straightforward. From yarn selection to finishing touches, each step is simple when broken down. Let the rhythm of looping yarn calm your mind and let your creativity flow. Visit LindeHobby to find everything you need, and get ready to embark on an inspiring crochet adventure!
See all our crochet patterns here
Key Takeaways
- Learn double crochet for easy and creative projects.
- Gather the right tools from LindeHobby for every budget.
- Start crafting by following basic steps and enjoy the process.
Gathering Your Materials
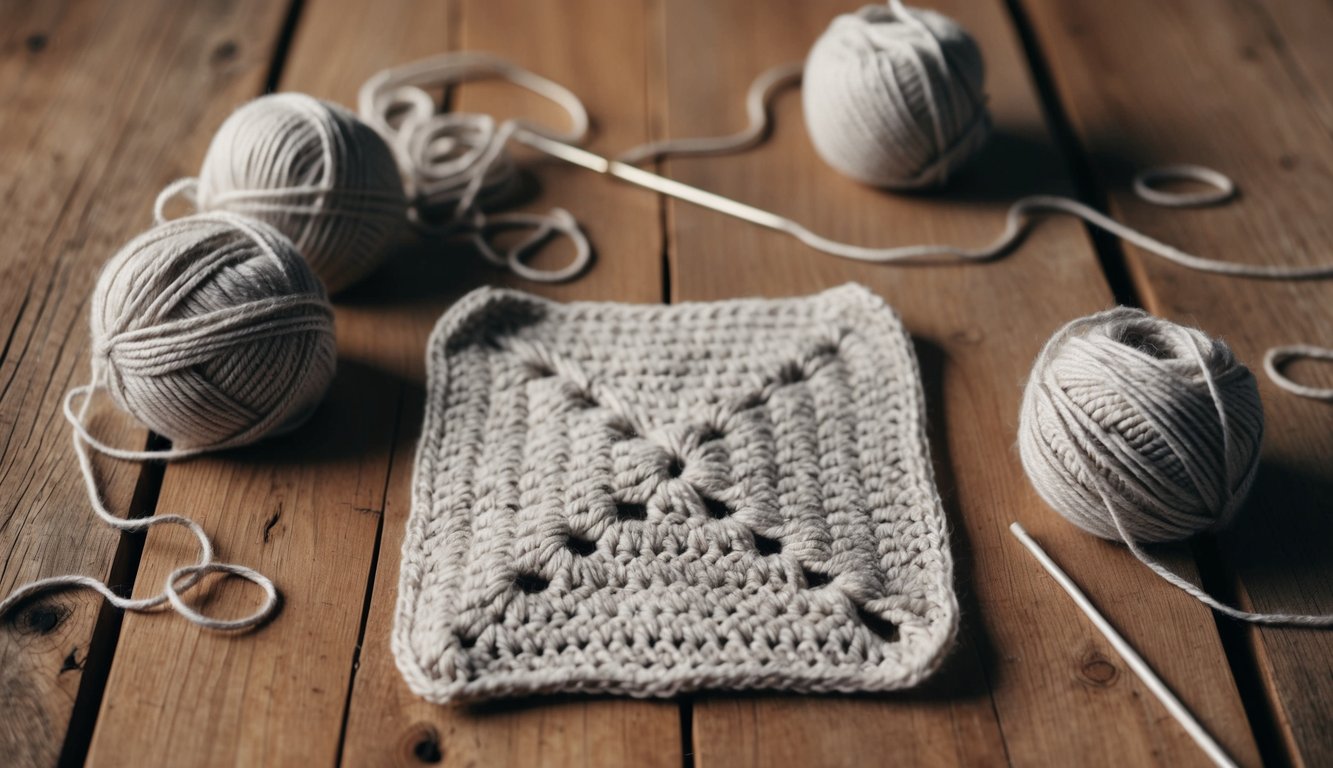
Before starting your double crochet project, you'll need to gather your supplies. Picking the right yarn and hook is crucial for success and enjoyment. Make sure you have a comfortable working space and good lighting.
Choosing the Right Yarn
Start by selecting yarn that suits your project. Yarn weight matters—lighter yarns like DK or sport weight are great for garments, while heavier yarns can be cozy for blankets. Check yarn labels for fiber content. Wool and cotton are popular, with wool offering warmth and elasticity and cotton providing breathability.
Different yarns create various textures. For beginners, smooth yarns are easier to work with. Plenty of color options are available, so feel free to get creative. Don't forget to consider your budget: LindeHobby offers affordable yarn bundles for every need.
Selecting the Best Crochet Hook
Your choice of crochet hook can affect your crafting experience. Hook size should match your yarn weight; check your yarn label for recommendations. If you're new, larger hooks are generally easier to handle and can speed up the process.
Crochet hooks come in various materials like aluminum, wood, and plastic. Each type has its pros and cons, like weight and grip comfort. An ergonomic hook can reduce hand strain during long sessions. At LindeHobby, you'll find a wide selection to fit your needs and preferences, ensuring a comfortable and enjoyable crochet experience.
Basic Techniques
Starting with the right techniques is key to mastering the double crochet stitch. You'll need to know how to make a slip knot and foundation chain, as well as the yarn over and pull through method. These are the building blocks of many crochet projects.
Making a Slip Knot and Foundation Chain
Materials Needed:
- Yarn
- Crochet hook
Begin by making a slip knot. Place the yarn over your fingers, loop it, and pull a piece through the loop. Tighten it gently on the hook. This is your first stitch, and it's important for keeping your work even.
Next, make a foundation chain. To do this, wrap the yarn around your hook and pull it through the loop. Repeat this step for the number of chains you need. The chain should be loose enough to easily work the next row of stitches but tight enough to keep the edges neat.
Beginner Tip: If you're new, practice making a longer chain to get a good feel for tension. This step determines the width of your project. Once you’re comfortable, you can try different chain lengths for various projects like scarves or blankets.
Understanding Yarn Over and Pull Through
The yarn over technique is essential in crochet. Wrap the yarn over your hook from back to front. This is the yarn over step. Insert the hook into your work, wrap the yarn over again, and pull through.
Next, focus on pulling through the loops. For a double crochet, yarn over and insert the hook into the stitch. Yarn over again and pull through. You now have three loops on the hook. Yarn over once more and pull through the first two loops. Yarn over again and pull through the remaining loops.
Beginner Tip: For consistency, maintain even tension. Practice this until it feels comfortable. As you gain confidence, you can begin to explore different yarn types and colors available at LindeHobby. Your finished pieces could become beautiful gifts or stylish home decor like cushion covers.
Double Crochet Stitch Steps
Learn how to create a double crochet stitch, one of the most popular stitches in crochet. You'll find it easy to make beautiful patterns once you understand the basic steps.
Starting Your First Double Crochet Row
To begin your double crochet journey, start by making a foundation chain. If you are new to crochet, 20-25 chains might be a good starting point. Hold your crochet hook in your dominant hand, and place the yarn in the other. Hook the yarn and pull it through the loop to create each chain.
Important Tip: The fourth chain from the hook is where your first double crochet will go. This ensures the right height for your row.
Before inserting the hook, yarn over once. Then, push the hook through the fourth chain from the hook. Yarn over again and pull the yarn through this chain. You should now have three loops on your hook.
Completing the Double Crochet Stitch
With three loops on the hook, yarn over and pull through the first two loops. This leaves two loops still on the hook. Yarn over one more time and pull through the last two loops. That’s your first double crochet stitch!
Repeat this process across the row. Remember: yarn over, insert the hook into the next chain, yarn over again, pull through the chain, yarn over to pull through two loops, and then yarn over to pull through the last two loops.
For even tension and neat stitches, pay close attention to your grip on the yarn and hook. Practice makes this feel more natural over time.
Turning and Starting New Rows
When you reach the end of your row, make three chains to create a turning chain. This acts as the first double crochet of the next row, providing the necessary height. Turn your work around so you can crochet back along the row.
Start your next double crochet stitch in the very first stitch from the previous row. Skip the turning chain since it acts as a stitch itself.
Continue the double crochet technique across the row. The rhythm becomes easier to maintain with practice. If you are feeling adventurous, try exploring different yarn colors or textures from LindeHobby to make your project even more special.
Ready to start your next project? Check out LindeHobby's wide selection of yarn and crochet hooks to bring your creative ideas to life!
Finishing Your Project
Completing your double crochet project involves final steps like ending your work securely and weaving in yarn ends neatly. These tasks help your creation look polished and last longer. They ensure that your hard work stays together and looks fantastic.
Securely Ending Your Work
To finish your project without unraveling, you must fasten off securely. After your last double crochet stitch, leave a tail of at least 6 inches. Cut the yarn using scissors.
Next, pull this tail through the final loop on your hook and tighten it by pulling gently.
If you're using a thicker yarn, consider leaving a longer tail to ensure a sturdy finish. Knee-high socks, stylish shawls, or cozy blankets can all benefit from this strong ending technique.
For the best results, choose durable yarn from LindeHobby. They offer a range of suitable options for beginners and seasoned crocheters alike.
Weaving in Ends for a Clean Finish
Weaving in ends is essential for a tidy look and feel. Begin by threading the yarn tail onto a tapestry needle. Insert the needle into the back of your stitches.
Go under them in one direction for about 2 inches. Then, weave back the other way to secure it. This back-and-forth motion keeps your work from coming undone over time.
For larger projects like blankets, repeat this step on multiple edges for a flawless finish. Be sure to trim excess yarn carefully with sharp scissors, without cutting into your project.
Explore yarn needles and other handy tools at LindeHobby to make the task quick and easy. High-quality supplies ensure your projects always look their best!

