How to Finger Knit: A Step-by-Step Guide for Beginners
Finger knitting is a fantastic method for creating knitted items without the need for traditional needles. It's an accessible craft for all ages, providing a simple way to produce beautiful, handcrafted creations from yarn. Our love for all things yarn-related drives us to share techniques that make crafting fun and easy, and finger knitting is no exception. With this technique, you can quickly knit scarves, blankets, bracelets, and more, using just your hands and some yarn.

At LindeHobby, we're not only enthusiasts but enablers of creativity. Whether you're new to this hobby or looking for a fresh project to tackle, finger knitting is an excellent choice. It's a craft you can take anywhere, and with our large assortment of yarns and free patterns, your finger knitting journey is full of endless possibilities. You don't have to worry about carrying around bulky needles or equipment; all you need is the yarn of your choice and your fingers.
Key Takeaways
- Finger knitting is easy and accessible, requiring no needles.
- All you need to begin is some yarn; LindeHobby can provide a variety of options.
- Simple instructions will guide you to create various finger knitted items.
What You'll Need

To begin finger knitting, you will require a few basic materials. We've outlined what you need to get started, so you can embark on your finger knitting journey with ease.
Materials List
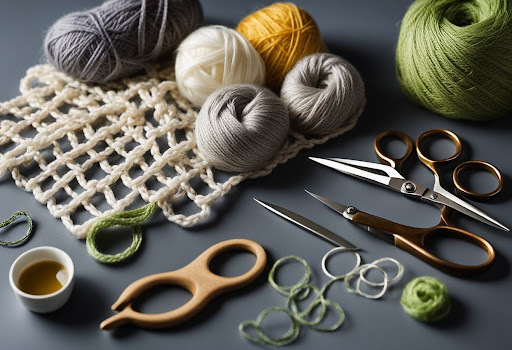
- Yarn: A skein of bulky or super bulky yarn is ideal for beginners due to its thickness and ease of handling. Choose a color that you love!
- Scissors: A pair of sharp scissors is necessary for cutting the yarn once you've completed your project.
Yarn Selection Tips
We recommend starting with a smooth, bulky yarn as it's easier to work with when you're learning. Textured or fancy yarns can be tricky for beginners.
- Yarn Texture: Smooth
- Yarn Weight: Bulky or Super Bulky
- Yarn Fiber: Wool or Acrylic (for ease of care)
Where to Purchase
You can find a variety of yarn suitable for finger knitting on our website. We offer an extensive range of colors and materials, catering to all your finger knitting needs. With our competitive prices and fast delivery, you'll be ready to start in no time.
Remember, we provide free shipping on orders over £69, and our customer service team is here to help if you have any questions about our products.
Instructions

Getting Started: To begin finger knitting, you only need some yarn and your hands. Choose a yarn that's soft and not too slippery, which makes it easier to handle.
Step 1: Casting On
- Cut a length of yarn to practice with; about 10 feet should be adequate.
- Start by holding the tail of the yarn between your thumb and forefinger.
- Weave the yarn over and under each finger, starting with your index finger and moving towards your pinky.
- Loop the yarn back across your fingers, weaving in the opposite direction, and push these second loops above the first.
Step 2: Creating the Knit
- With the yarn behind your fingers, lift the bottom loop over the top loop on each finger, starting from your pinky and moving towards your index finger.
- After all bottom loops are over the top ones, pull the yarn to tighten the stitches.
Step 3: Continuing to Knit
- Repeat Step 2, adding new loops and pulling over the previous ones.
- Keep the tension consistent for even stitches.
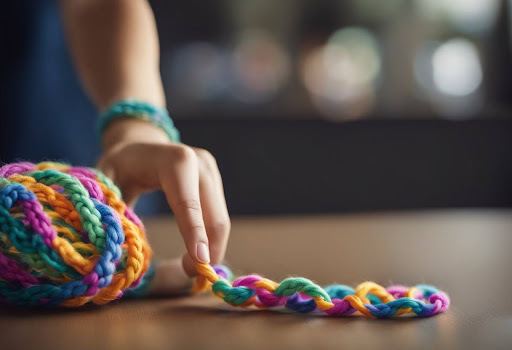
- As you progress, you'll see a knitted cord emerging from the back of your hand.
Step 4: Ending the Knit
- To bind off, carefully cut your working yarn, leaving a tail.
- Loop the tail through the remaining loops on your fingers, pulling to secure your work.
Tip:
- Maintain a consistent tension for a neat result.
- Use a crochet hook for binding off if it makes you more comfortable.
Enjoy your knitting journey and remember, practice makes perfect!
-
-
-
-
-
-
-
-
29% Off


