How to Finish Needlepoint Pillows Like a Pro: Expert Tips for a Polished Look
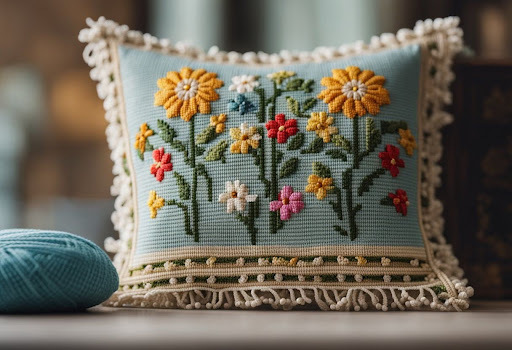
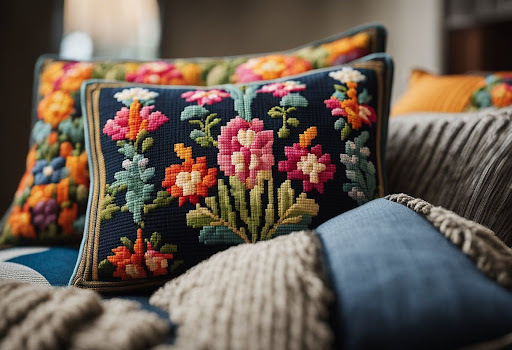
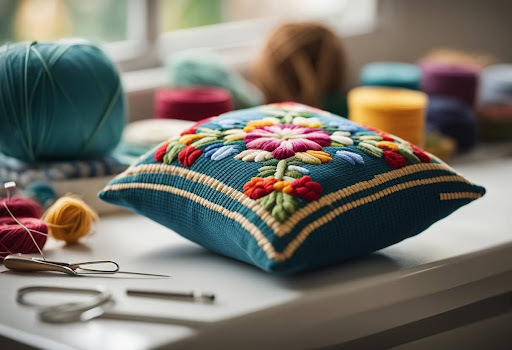
Transforming a piece of needlepoint into a plush, decorative pillow can be an incredibly satisfying experience. It's a way to not only showcase the intricate designs and hard work that went into the stitching but also to create a functional piece for your home décor. Whether you're a seasoned needlepoint enthusiast or someone who has just picked up the skill, learning how to properly finish a needlepoint pillow can elevate your craft to a professional level.

The process of finishing a needlepoint pillow involves several important steps to ensure durability and aesthetic appeal. From selecting the appropriate backing fabric that complements your needlework to the actual instructions for sewing and assembling the pillow, each phase is vital for achieving a high-quality finish. Once mastered, these techniques will not only enhance the appearance of your pillows but also give you the satisfaction of creating something both beautiful and practical.
Key Takeaways
- Transforming needlepoint into pillows enhances both aesthetics and functionality.
- Careful selection of backing fabric is crucial for a high-quality finish.
- Mastering the sewing and assembling techniques ensures professional results.
About Backing Fabric

When finishing a needlepoint pillow, the choice of backing fabric is crucial as it adds both form and function to your work.
Notes
- Fabric Type: We recommend a sturdy and durable fabric like cotton twill or upholstery fabric to complement the needlepoint front.
- Colour Matching: Select a colour that complements the dominant shades in your design or opt for a neutral tone that blends with various decors.
What You'll Need
- Measuring Tape: To determine the precise size of your pillow.
- Backing Fabric: Approximately 2 to 4 cm larger than your finished needlepoint on each side.
- Scissors: For accurate cutting of fabric.
- Thread: A strong sewing thread that matches the backing fabric.
- Sewing Machine: Preferable, for a quicker and stronger seam.
- Hand Sewing Needle: For final stitches and closing the pillow.
Instructions

When finishing needlepoint pillows, we follow a structured approach to ensure a professional result. Below is a concise guide detailing each step.
Materials Needed
- Finished needlepoint canvas
- Backing fabric
- Pillow stuffing or insert
- Coordinating thread
- Sewing needle
- Scissors
- Straight pins
Step-by-Step Process
- Prepare the Canvas:
Ensure your needlepoint canvas is clean and trimmed to the desired size, leaving a margin for seam allowance. - Cut Backing Fabric:
Cut the backing fabric to match the dimensions of your prepared canvas, including seam allowance. - Pin in Place:
Place the right sides of the backing fabric and the canvas together. Pin around the edges to hold them in place. - Start Sewing:
Hand-stitch or use a sewing machine to sew three sides together, using a simple running stitch or a backstitch for strength. Leave one side open for stuffing. - Clip Corners:
Before turning right side out, clip the corners diagonally to reduce bulk after inverting. - Turn Right Side Out:
Carefully turn the pillow right side out. Poke out the corners to ensure they are sharp. - Stuff the Pillow:
Fill the pillow with stuffing or insert the pillow cushion evenly, ensuring corners are fully expanded. - Slip Stitch Closure:
Fold in the seam allowance on the open side and neatly slip stitch the opening closed.
By following these steps, you'll create a neatly finished needlepoint pillow that is sure to complement your home décor or make a thoughtful gift. Remember to always choose high-quality materials to enhance the longevity and appearance of your needlepoint projects.
-
-
-
-
-
-
-
-
29% Off


