How to Hand Crochet a Blanket: A Cozy Guide for Hobby Enthusiasts
Crocheting by hand is a fun and rewarding way to create a beautiful blanket without needing any hooks. This craft is a great option for those seeking relaxation and creativity in a simple activity.
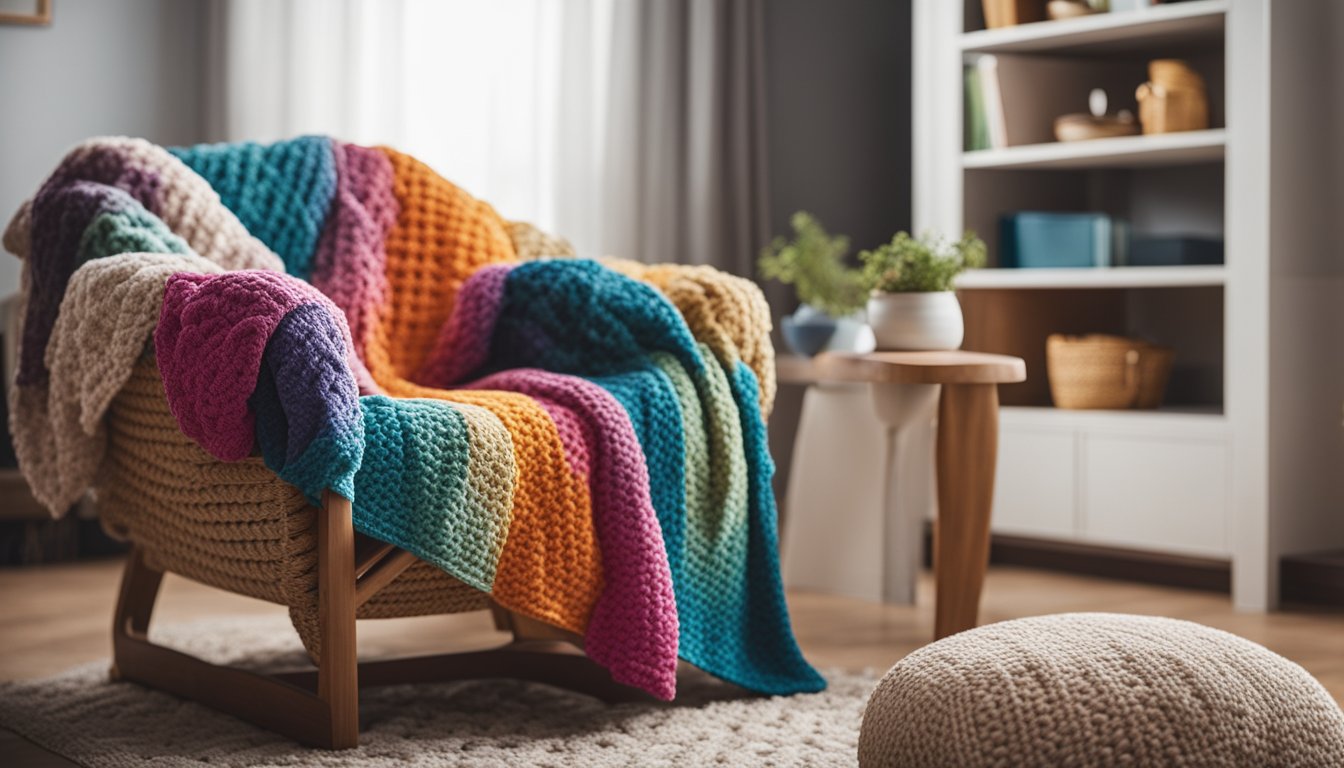
Hand crocheting allows you to create a cozy blanket with just yarn and your own two hands. It’s an easy and soothing project that can add a personal touch to your home or make for a heartfelt gift.

Getting started with hand crochet is simpler than you might think. All you need are a few basic materials, which you can find at LindeHobby.
Choose a soft yarn color that inspires you and fits your home style. Whether you're a beginner or an experienced crocheter, you'll enjoy the process of crafting a blanket that’s uniquely yours.
As you create your first loops and see your project grow, you'll find the experience to be both calming and exciting. Plus, finishing your own hand-crocheted blanket brings a sense of accomplishment.
Key Takeaways
- Hand crochet uses your hands to make a blanket.
- Start with basic materials from LindeHobby.
- Create a cozy, personal blanket easily.
Getting Started with Hand Crochet
Hand crochet is a fun way to make beautiful blankets without using hooks. You'll need to learn the basics, gather materials, and choose suitable yarn. Follow these steps to set up your hand crochet project, whether you're a beginner or an experienced crafter.
Understanding Hand Crochet
Hand crochet is a relaxing activity. You use your fingers to create loops in the yarn instead of using a crochet hook. This method is great for making chunky blankets. It’s a wonderful option if you're new to crocheting or if you want a quick and satisfying project.
Beginners find it simple to pick up because it isn't as precise as using tools. Hand crochet also allows for quicker projects. Your fingers act as your tools, allowing you to control the tension and size of your stitches with ease. Once you know the basic movements, you can start making different items, not just blankets.
Materials Needed
Before starting, gather the materials you'll need. Yarn is the most important item, and you'll find a broad selection at LindeHobby, from budget-friendly to premium options.
Choose a type that suits your style and project needs. You'll also need a flat surface, like a table or floor, to lay out your work.
Make sure your chosen space is well-lit for easy visibility. Some people even keep a measuring tape handy to ensure even stitch sizes. Having your supplies organized makes the process more enjoyable. Consider getting storage baskets to keep everything in place. All these small touches make your hand crochet experience stress-free and enjoyable.
Choosing the Right Yarn
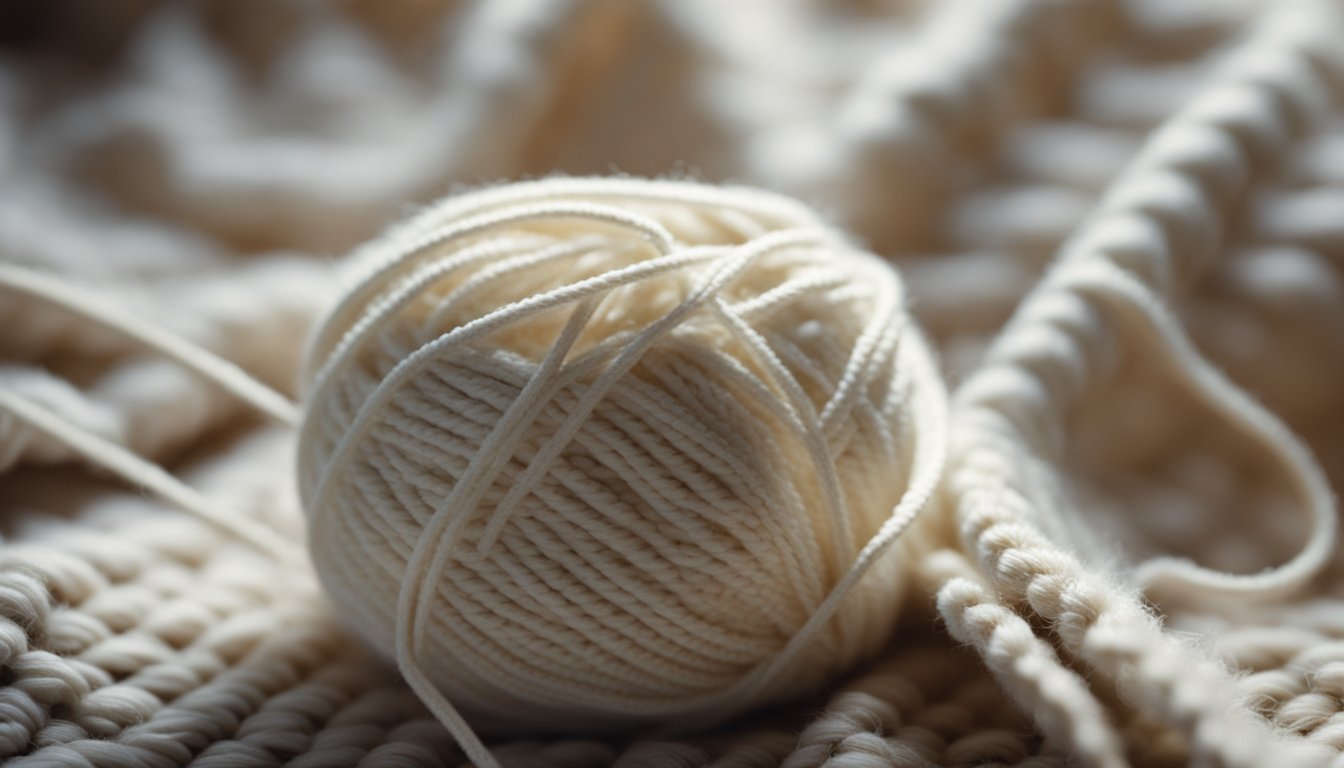
Yarn comes in many textures and colors, and the right choice depends on your project and personal taste. For beginners, chunky yarn is perfect. It is easier to handle and works up quickly into cozy blankets. LindeHobby offers a variety of options in wool, cotton, and acrylic.
Chunky yarn makes it simple to see your stitches and identify any mistakes early on. You'll also spend less time crafting each project, providing instant satisfaction. Experienced crafters can explore silky or textured yarns to add flair to their creations. Each type of yarn has its own look and feel, allowing you to create a unique blanket every time.
Explore your creativity by mixing and matching colors. With so many choices available, you can fashion a piece that fits your home decor perfectly. Visit LindeHobby to find beautiful yarns in many styles and prices to suit every crafter's preference.
Explore our yarn collection here!
Creating Your First Crochet Loop
Starting your crochet journey begins with mastering a few key elements. You'll learn how to make a slip knot and then create a foundation chain, forming the heart of your project.
Making a Slip Knot
To create a slip knot, drape the yarn over your hand, forming a loop. Take the tail end and cross it behind the loop. Reach through the loop with two fingers and grab the tail, pulling it through to create another loop. Gently pull both ends to tighten the noose-like knot.
Make sure the loop can slide freely; this will give you control over the tension. If you're just starting, consider using soft, medium-weight yarn and a 5mm crochet hook from LindeHobby. This combination is beginner-friendly and budget-conscious.
Creating the Foundation Chain
Hold the slip knot on your hook and wrap the yarn over it. This is known as yarn over. Pull the yarn through the slip knot loop using the hook. You've crafted your first chain!
Repeat the yarn over and pull through steps to form a chain of stitches, typically 25-30 for a baby blanket.
Control your tension by keeping the stitches loose but stable. This foundation chain is crucial for adding rows later. Experiment with different yarns and hook sizes from LindeHobby to find what feels right for you. Affordable options provide a chance to try various combinations without much investment. Prepare to discover the joy of creating a handmade crochet blanket.
The Hand Crochet Process
Hand crocheting a blanket involves a few key techniques. You will need to know about basic stitches, how to work in different shapes, and how to adjust the number of stitches to change the size of your blanket. Ready to create something beautiful and cozy?
Basic Hand Crochet Stitches
Hand crocheting uses simple loops. Chain stitch (ch) is one of the first stitches you'll learn. Start with a loop and pull another loop through it. This chain becomes your foundation.
Next, try the single crochet (sc). Insert your hand into a loop, grab the yarn, and pull it through. You’ll have two loops. Pull the yarn through both loops. Mastering these stitches is essential for creating a sturdy blanket.
Double crochet (dc) is useful for faster progress. Yarn over your hand, insert it under a loop, and pull through. Yarn over again, pull through two loops, then do it again. Practice will make you comfortable with these motions.
Working in Rows and Rounds
When creating a rectangular blanket, you'll mostly work in rows. Begin by chaining the desired length. Turn your work and stitch back across the row using your chosen stitch. Repeat this until the blanket reaches the desired size.
For round items like rugs, you’ll start with a loop and work in circles. You crochet around and around, gradually expanding the circle. Use the magic circle technique to avoid holes in the center. This creates a neat finish.
If you're unsure of sizing, aim for smaller projects first. Small items help you practice without feeling overwhelmed. Remember, consistency in stitch tension is key to achieving a smooth and even surface.
Increasing and Decreasing Stitches
To change the shape or size of your blanket, you may need to increase or decrease your stitches.
Increasing involves adding more stitches as you crochet. You do this by working two or more stitches into a single stitch of the previous row or round.
Decreasing is the opposite — it involves combining stitches to make them fewer. This might come in handy when shaping edges.
You can do this by inserting your hand under one stitch, pulling up a loop, then moving to the next stitch and doing the same, finishing by pulling yarn through all loops.
Both increasing and decreasing help form the unique shape of your blanket. Practice these techniques with scrap yarn to get comfortable. Don’t forget to explore the wide range of materials and tools available at LindeHobby to perfect your craft.
Finishing Your Blanket
Once you’ve crocheted the body of your blanket, it's time to finish it. This includes securing your loops, tucking in any loose yarn ends, and knowing how to maintain your blanket's quality over time.
Binding Off Your Work
To complete your crochet blanket, you'll need to bind off your work. Start by making a slip stitch in the next stitch. Pull the yarn through both loops on your hook.
Cut the yarn, leaving a tail of about 6 inches. Use your hook to pull the tail through the final loop on the hook. Tighten gently. This knot will secure your crochet so it doesn't unravel.
Feel free to add a border. This can be simple like a single crochet row or intricate like a scalloped edge. Borders not only add a professional touch but also help keep your blanket's edges from curling.
Weaving in Ends
With your blanket complete, there will be some loose ends. These are the yarn tails left from joining new skeins or color changes.
Using a yarn needle, insert the tail into the eye.
Weave the tail back and forth through the stitches. This should be in the same color section to blend seamlessly.
Trim any excess yarn close to the fabric—being careful not to cut too close or the work may unravel.
This step ensures your blanket is tidy and tough-lasts. It also prevents those pesky ends from poking out over time.
Caring for Your Blanket
Your crocheted blanket will last longer with the right care. Wash it in cold water with gentle detergent, either by hand or in a washing machine set to a delicate cycle.
Air dry by laying it flat to retain shape. Avoid hanging, as this could stretch the blanket out.
Regular care keeps your crochet looking bright and cozy. If you’re gifting, include care instructions to help them keep it looking beautiful.
For your yarn needs, LindeHobby offers a range of high-quality options, perfect for all projects. Explore our selection today, and build your perfect blanket with ease!

