How to Join Crochet Squares: Transform Your Project with LindeHobby Passion
Crochet squares offer endless creative possibilities, whether you're crafting a cozy blanket or a stylish cushion cover. Connecting them can be a delightful experience, giving you a chance to see your creation come to life. Learning how to join crochet squares is a rewarding skill that can transform your projects into beautiful works of art. Whether you're new to crocheting or have been crafting for years, this guide will cover techniques to help you achieve a polished finish.
By exploring different joining methods, you can customize the look and functionality of your projects. From simple whip stitches to fancy lace-like joins, you'll find ways to enhance your pieces. This article will introduce these techniques, making it easy for you to decide which best suits your style.
Once you're comfortable with joining methods, finishing touches can make your project feel special. Adding decorative touches or varied textures can bring a unique flair to the end result. Remember, LindeHobby is here to support your crafting journey with a variety of yarns and tools to help bring your creative visions to life.
See all our crochet patterns here
Key Takeaways
- Joining crochet squares adds a polished touch to projects.
- Explore various techniques suited for different styles.
- LindeHobby offers supplies for every step of your crafting.
Understanding Crochet Squares
Crochet squares are building blocks for beautiful projects like blankets, pillows, and tops. You need to know the types and gather materials to start.
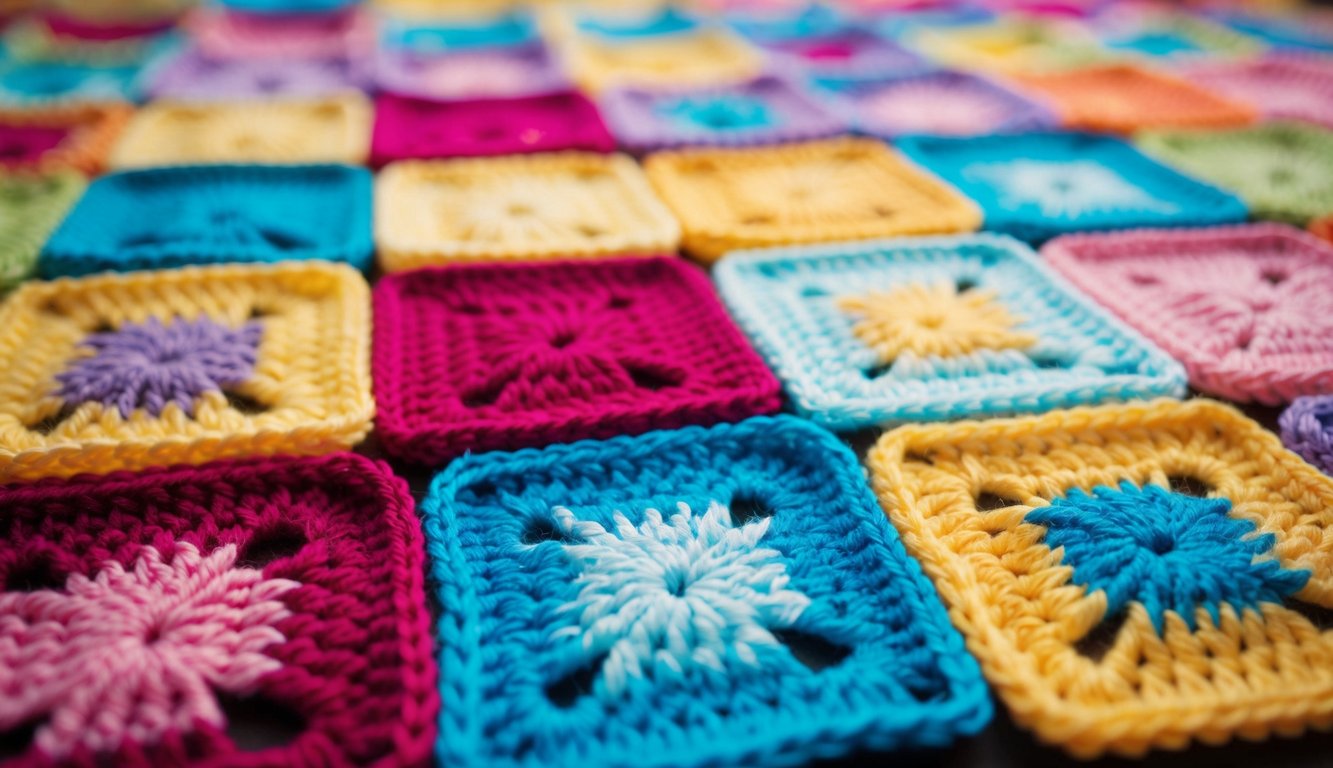
Types of Crochet Squares
Crochet squares come in different styles. Granny squares are classic and easy to make. They have a lacy look and are perfect for beginners. You can also find solid squares with tighter stitches, giving a denser finish.
Some squares feature intricate patterns like floral designs, cables, or textured motifs. These offer more advanced crafters a chance to show off their skills. Choosing the right type depends on your project and skill level.
Consider the final look and feel you want when selecting squares. Mixing different types can add texture and visual interest to larger projects.
Materials Needed
To create crochet squares, you need a few key supplies. You’ll require crochet hooks in sizes that match your yarn choice. Yarn selection varies; choose based on your square type. For beginners, acrylic or cotton yarn is often recommended because it's affordable and versatile.
You may also want a stitch marker to keep track of your work. A yarn needle is essential for weaving in loose ends once squares are complete. Keep scissors handy for snipping yarn.
At LindeHobby, you can find quality yarns and hooks to suit any budget. Whether you are new or experienced, having the right materials makes your crocheting journey smoother and more enjoyable.
Joining Techniques Overview
Crochet squares can be joined using various techniques, each adding a unique touch to your project. Explore methods like Slip Stitch, Single Crochet, and Join-As-You-Go to find what works best for your style.
Slip Stitch Join
The Slip Stitch Join is a simple and neat method for assembling crochet squares. You'll need your yarn and a crochet hook.
- Align two squares with right sides facing each other.
- Insert the hook through both corner loops.
- Yarn over, pull through all loops on the hook.
This method creates a flat seam, ideal for projects needing a smooth finish.
Tip: Use a contrasting yarn to make the seam a decorative element. Affordable yarn selections from LindeHobby can meet any creative need you have, from vibrant colors to classic neutrals. Whether you're a beginner or advanced, you can find the perfect material to suit your project goals.
Single Crochet Join
The Single Crochet Join adds texture and structure. It's slightly raised and provides a sturdy connection.
- Hold two squares together, wrong sides touching.
- Start in one corner and single crochet through both loops of each stitch across.
- Continue to the next square in the same manner.
This method not only joins but frames each square with a lovely ridge. Tweak your finish using our extensive LindeHobby yarn selection. Select yarn that complements your color scheme or highlights the join as a feature.
Budget Tip: Try pairing simpler yarns with premium ones to create contrast without straining your budget.
Join-As-You-Go Method
The Join-As-You-Go Method eliminates the need for later assembly. It integrates the joining process directly into your crochet flow.
- Crochet your first square normally.
- For subsequent squares, crochet the last row while slip-stitching into the edges of the adjacent square.
- This technique uses slip stitches to join, ensuring seamless transition between squares.
It's perfect for spontaneous crafters who enjoy seeing their work grow piece by piece. Utilize this efficient method for large projects.
Explore LindeHobby’s tools and kits to enhance your crafting journey. Discover materials that suit any occasion or style you're going for, whether you're making a cozy blanket or an elegant shawl. Engage with a community of crochet lovers who trust LindeHobby for quality supplies.
Finishing Touches
You've joined your crochet squares. Now it's time to give your project a polished finish. Adding a trim or border enhances its appearance and ensures it looks professional and neat. Additionally, blocking is crucial for maintaining shape and providing stability.
Trim and Border Options
Choosing the right trim or border can transform your work. A simple single crochet border can give your blanket or scarf a clean edge. For something more decorative, try a shell or picot border. Both add a touch of elegance and texture.
To start, crochet evenly around your project. Maintain consistent stitch tension to avoid a wavy edge. If you want a thicker border, consider a double crochet round followed by a shell or scalloped edge. Experiment with different yarn colors for contrast or harmony.
When picking yarn for borders, it's best to use the same type and weight as your squares. This ensures a consistent look. You’ll find a variety of yarns at LindeHobby, perfect for any style or budget.
Blocking Your Project
Blocking helps shape your crochet project and smooths any uneven stitches. To block, you'll need a clean, flat surface like a large towel or blocking mats. Gently wash your crochet item following yarn care instructions. It's important to use lukewarm water to avoid fibers stretching or shrinking.
Place your damp project on the towel. Shape carefully, ensuring all edges are straight. Use rust-resistant pins to keep everything in place. Let it dry completely for the best results. Blocking is a budget-friendly technique that elevates your project.
For optimal results, ensure you use quality yarns that hold their shape well. Feel free to explore the range of blocking tools available at LindeHobby to achieve a professional finish.

