How to Make a Christmas Card: Creative Ideas for a Heartfelt Holiday Gesture
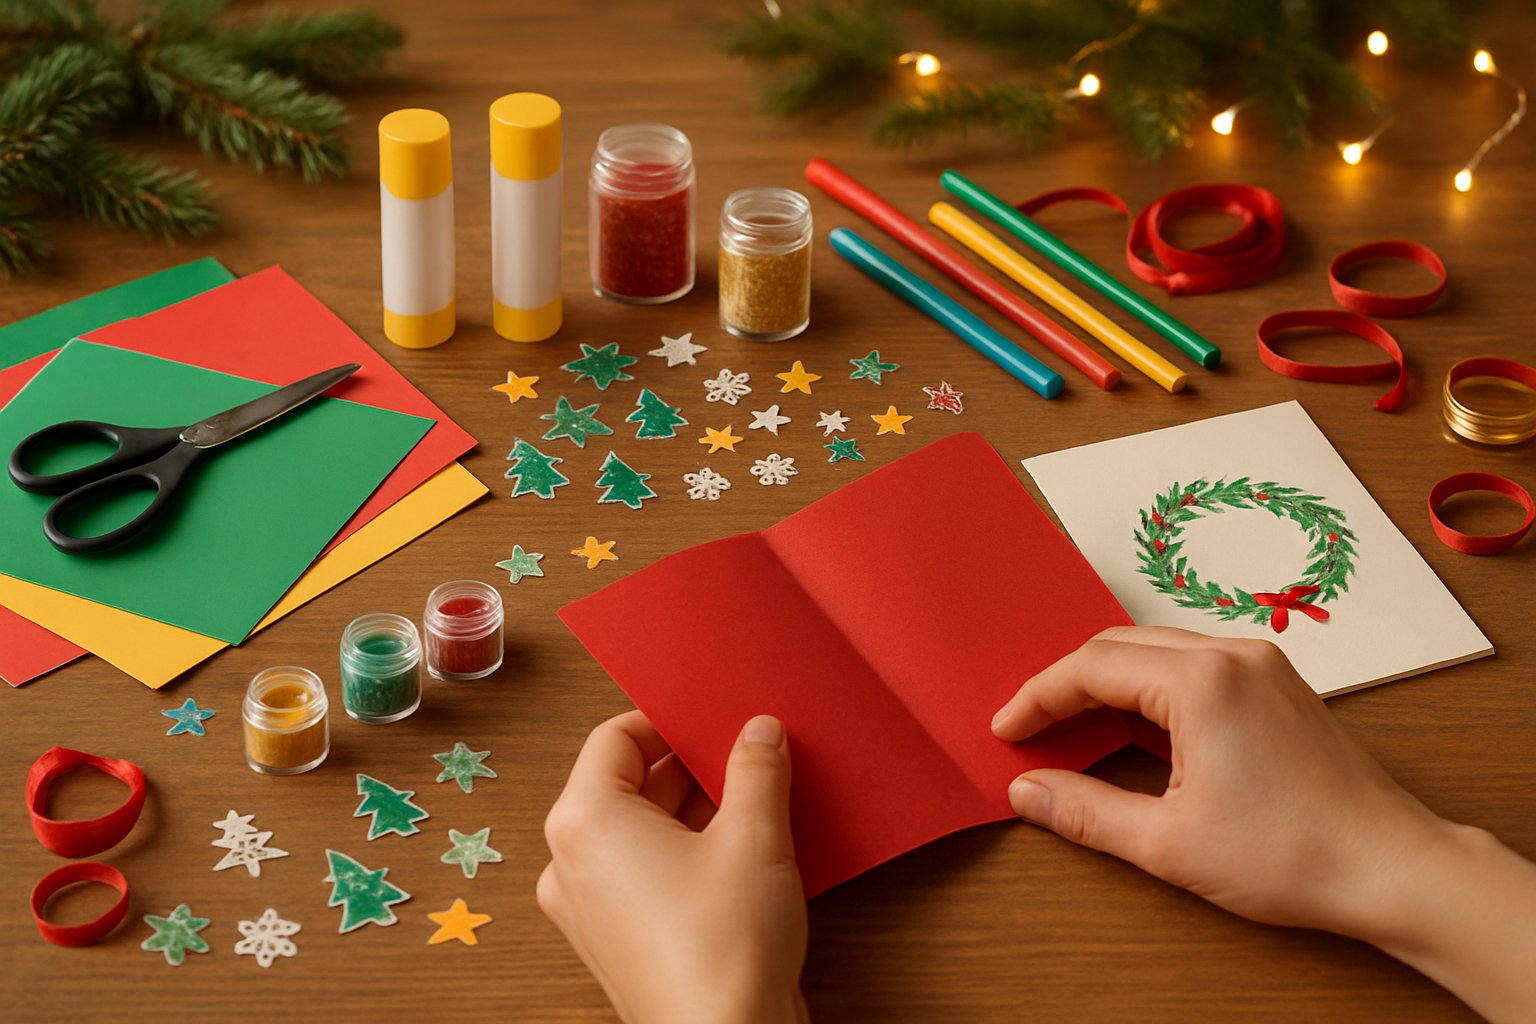
Creating a Christmas card is a wonderful way to share the joy of the season with family and friends. To make a memorable card, gather materials like cardstock, markers, and decorative paper. Personal touches mean the most, making each card special and unique.
Christmas card crafting can be fun and relaxing. It lets you express your creativity while adding a personal message of joy and celebration. Experiment with designs and let your imagination guide you in bringing your card to life. Sourcing your supplies from a store like LindeHobby connects you with a rich selection of arts and crafts materials.
Try using different patterns, textures, and colors to elevate your design. Once complete, your Christmas card becomes a heartfelt item that your loved ones will cherish. Browse LindeHobby’s wide selection to find everything you need for your next creative project.
See our Christmas assortment here
Key Takeaways
- Gather basic supplies like cardstock and markers.
- Personalize your card with creative designs.
- Find quality materials at LindeHobby.
Gathering Materials and Supplies
Creating your own Christmas card can be a delightful project. You’ll need some basic materials and a few special touches. Discover what you’ll need to craft a memorable holiday card.
Choosing Cardstock and Paper
Selecting the right cardstock is a key step. Thicker paper offers durability and a professional appearance. Look for cardstock that’s at least 110 lb or 300 gsm. Colors like red, green, and white are festive choices, but don't shy away from mixing in sparkly or textured options for added flair.
For additional layers or inserts, colored paper in lighter weights can add depth and contrast. Consider patterns like snowflakes or candy canes for a holiday theme. LindeHobby has many options that can suit any design.
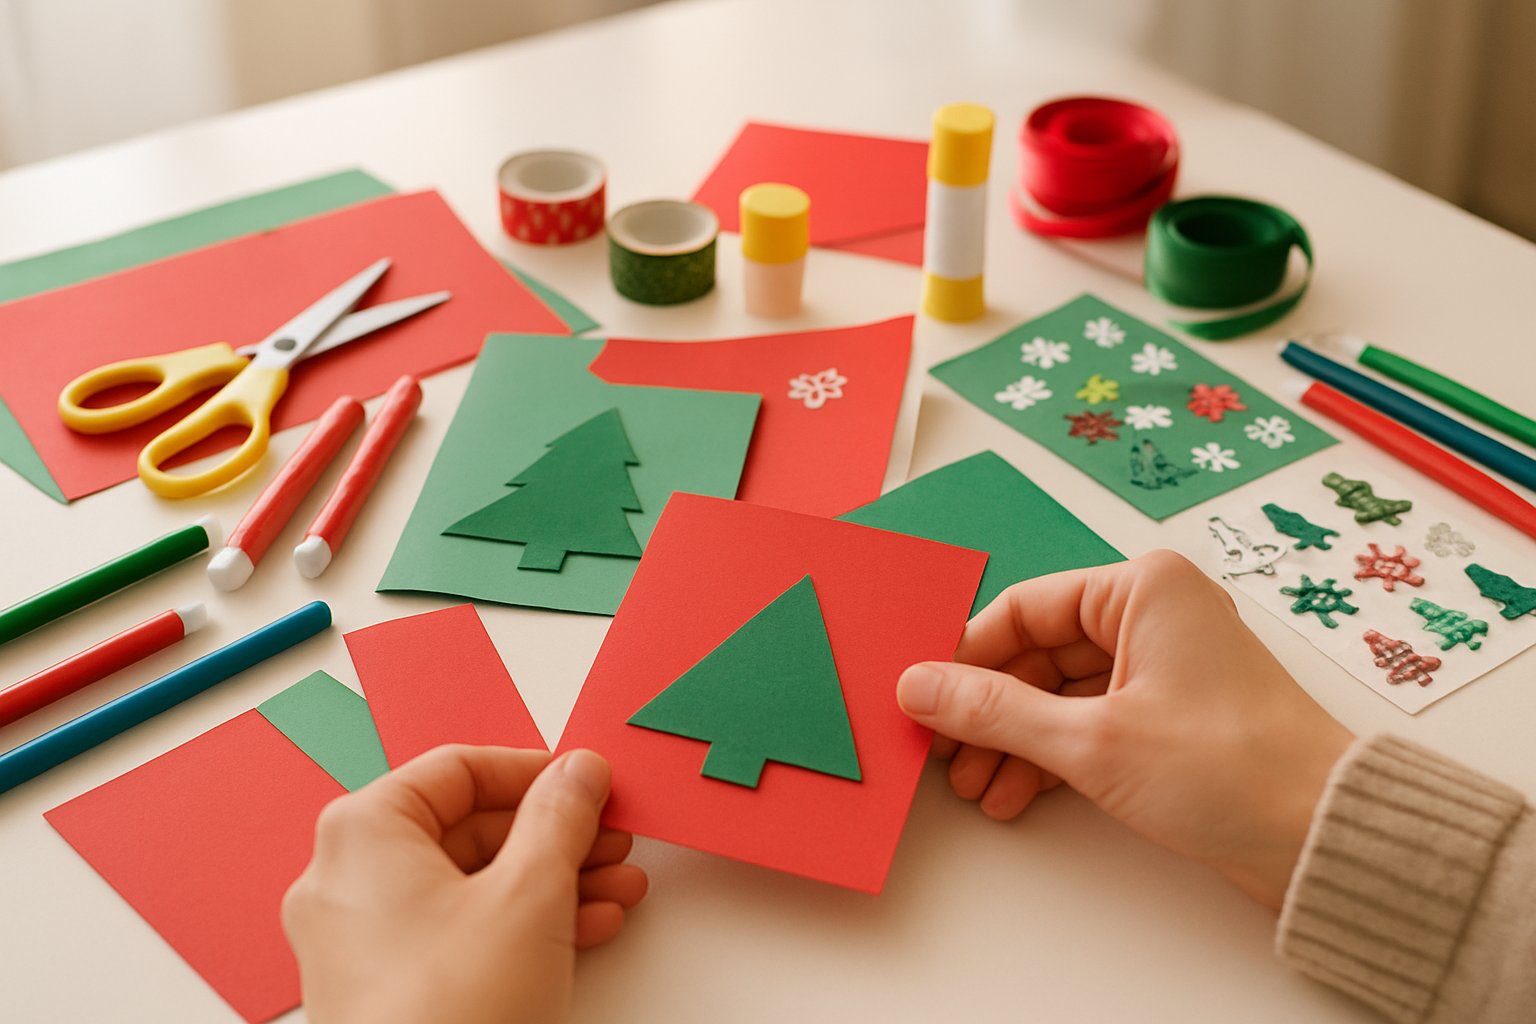
Essential Craft Tools
To start, gather essential tools such as scissors and a paper trimmer for precise cuts. A craft knife can help with intricate designs. Reliable glue or a double-sided tape will keep pieces secure without the mess.
Invest in a quality ruler to measure accurately. A bone folder creates crisp folds in your cardstock, giving your cards a neat look. These tools make the crafting process smooth and enjoyable whether you are starting out or are more experienced.
Decorative Embellishments
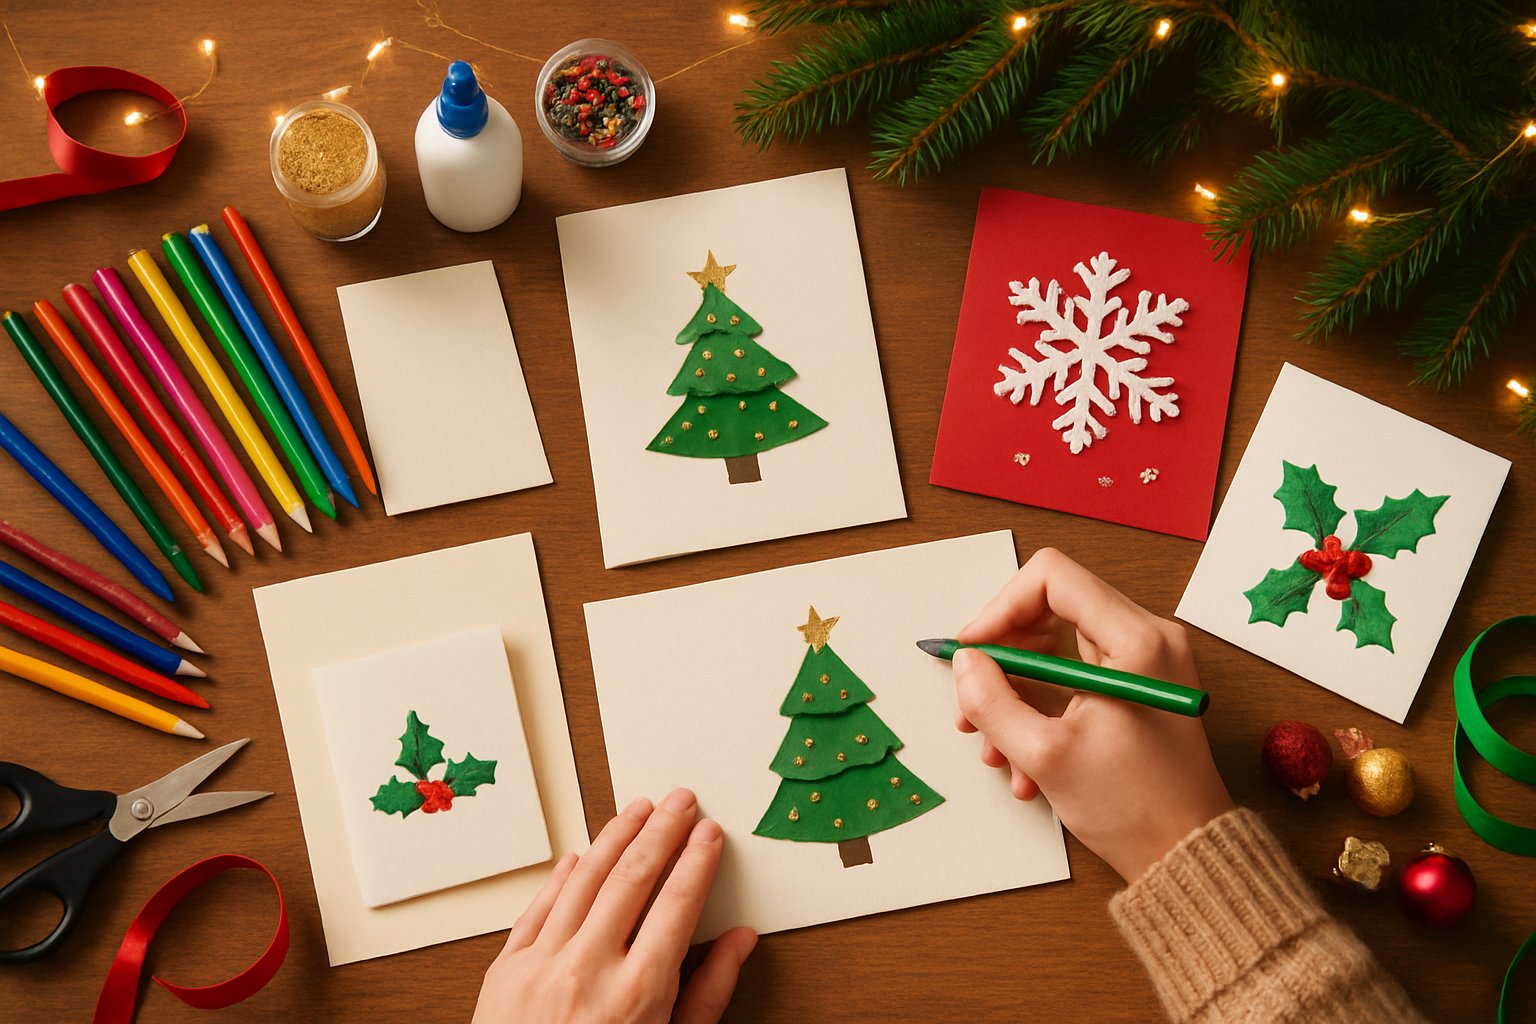
Adding embellishments can make your Christmas cards truly stand out. Stickers, ribbons, and sequins offer creative decorations that enhance your theme. Use rubber stamps with festive designs to add unique touches.
Don't forget about markers or colored pencils for handwritten messages or drawings. You can include sparkles or small charms to add a bit of holiday magic. These finishing touches give your cards a personal and festive touch that everyone will love.
Explore the variety of materials at LindeHobby to find the perfect elements for your crafting needs.
Designing Your Christmas Card
Designing a Christmas card is all about creativity, with attention to theme, layout, and message. Using simple materials and thoughtful designs, you can craft meaningful cards to delight family and friends.
Selecting a Theme or Inspiration
Choosing a theme sets the tone for your Christmas card. Think about what inspires you, whether it is traditional holiday colors, nature, or modern patterns. Popular themes include classic red and green, sparkling winter wonderlands, or cozy fireplace scenes.
A great starting point is to brainstorm ideas based on what makes the holiday special for you. You can use LindeHobby's wide variety of arts and crafts materials to bring your vision to life. For a personal touch, consider incorporating family photos, memorable holiday quotes, or vintage Christmas imagery.
Creating Layouts and Sketches
Once you have your theme, it's time to design the layout. Start by sketching a few ideas on paper using simple tools like pencils and erasers. Determine where the main features, such as images or logos, will go. Keep in mind the size and orientation of your card: will it be a postcard style or fold in half?
Experiment with different arrangements, like placing the focus image in the center or off to one side. Adding borders or dividing sections can create a more polished look.
Utilize LindeHobby’s extensive selection of decorative paper and embellishments to give your card dimension and depth. Layering materials or mixing textures add a unique and professional finish.
Adding Handwritten or Printed Messages
Messages are the heart of any Christmas card. Decide if you prefer handwritten notes or printed text. Handwritten messages can add warmth and a personal touch, while printed text offers a clean and polished appearance. Practice your message on scrap paper before adding it to your card to ensure it looks perfect.
Choose your words carefully to make your card memorable. Simple greetings like "Wishing you a joyful holiday season" or "Merry Christmas" are always appreciated. For more personalized messages, share a fond memory or a heartfelt wish.
LindeHobby’s pens and markers can make your writing standout, offering a range of colors and styles to suit your design.
Bringing Your Card to Life
Creating a vibrant and unique Christmas card involves using thoughtful techniques to enhance its appearance. Through precise cutting and folding, adding charming decorations, and infusing personal touches, you can craft a card that truly stands out.
Cutting and Folding Techniques
Getting the basics right is crucial. Start with a high-quality cardstock, as a strong base makes your card feel more special. Folding is an important step. To get a neat fold, use a bone folder or the edge of a ruler for a sharp crease. This small tool can make a big difference in the finished look.
Experiment with different folds to add interest. Try these ideas:
- Half Fold: Simplest, just fold in half.
- Gate Fold: Fold each side toward the center, like a gate.
- Accordion Fold: Great for adding depth and multiple layers.
Cutting can also add a unique touch. Use craft punches to create decorative edges or interesting cutouts. Scissors with patterned edges give an artistic flair. Make sure your cuts are clean and precise.
Decorating with Stamps, Stickers, and Ribbons
Decorations are where your card can really shine. Start with stamps. They are easily repeatable and come in many designs, from snowflakes to reindeer. Use different ink colors to add variety.
Stickers can be a fun, easy way to decorate. Choose designs that match your card's theme, like stars or bells. They add a playful touch with minimal effort.
Ribbons give a 3D effect and bring luxury to your card. Wrap a ribbon around the card or tie it in a bow for a beautiful finish. Remember, a variety in materials and textures adds excitement.
Personalizing with Photos and Artwork
Personal touches make your card truly yours. Including personal photos is a wonderful way to bring warmth and connection. Choose a joyful moment from the past year to share with your loved ones.
Artwork adds another layer. Whether it's a doodle or a watercolor, it shows creativity and care.
Feel free to sketch, paint, or even use digital art. This personalization makes each card one-of-a-kind.
Make sure to include these thoughtful elements to express your creativity and leave a lasting impression of holiday cheer. LindeHobby can help with all the supplies needed to craft your perfect card.
Finishing Touches and Sharing
Adding the last details transforms your Christmas card from simple to special. Learn about making it last longer and ways to share it thoughtfully.
Ensuring Durability and Quality
To make sure your card stands the test of time, select sturdy paper like cardstock. This keeps it from bending easily. Don't forget to opt for high-quality adhesives when attaching decorations. Glue sticks or double-sided tape works well, but avoid using too much to prevent wrinkling.
Consider applying a light coating of clear sealant for added protection. This helps keep glitter or other decorations in place. If you want to emphasize the card’s handmade aspect, use embossing or raised patterns. This technique, using pressure and stencils, adds both texture and a polished look.
Materials from LindeHobby are excellent for this, offering durability and flair. Whether you're using their decorative papers or specialty glues, these tools ensure your card feels personal and well-crafted. Even after the holiday season, anyone who receives your card can keep it as a cherished memory.
Packaging and Mailing Your Card
Packaging your card thoughtfully ensures it arrives intact. Start by choosing an envelope slightly larger than your card to avoid bending. Bubble mailers or padded envelopes add extra cushioning if your card has 3D elements. For a special touch, wrap the card in tissue paper or place it in a protective plastic sleeve.
Before mailing, check postage requirements. Heavier or bulky cards might need additional stamps. Handwriting the address adds a personal touch, showing care in your creation.
If you're delivering locally, consider choosing a basket or gift box for a more festive presentation. For long-distance sharing, using LindeHobby supplies ensures creativity with materials that endure the journey. Whether your card travels across town or across the country, it’ll arrive as beautiful as when you sent it.

