How to Make Origami Dragon: Unleash Your Creative Passion with LindeHobby
Crafting a dragon from a simple piece of paper might sound like magic, but with origami, it becomes an engaging and calming hobby. Origami dragons captivate with their intricate folds and majestic form, making them rewarding projects. Creating an origami dragon is a fun and creative way to unwind and showcase your artistic side.
To begin, you'll need a few basic supplies, but the beauty lies in how you transform ordinary paper into something extraordinary. With patience and some practice, even beginners can create these fantastic creatures. You can personalize your dragon with different colors and styles, adding a unique touch to your creation.
Explore your creativity as you follow a series of simple folds to bring your dragon to life. Enhance your skills with personalization tips and advanced techniques to make each project special. Get started on this delightful journey with help from LindeHobby, where a variety of high-quality supplies await to support your crafting needs.
Key Takeaways
- Start with essential materials for origami dragon folding.
- Follow clear steps for crafting an origami dragon.
- Personalize your dragon with colors and styles.
Essential Materials And Preparation
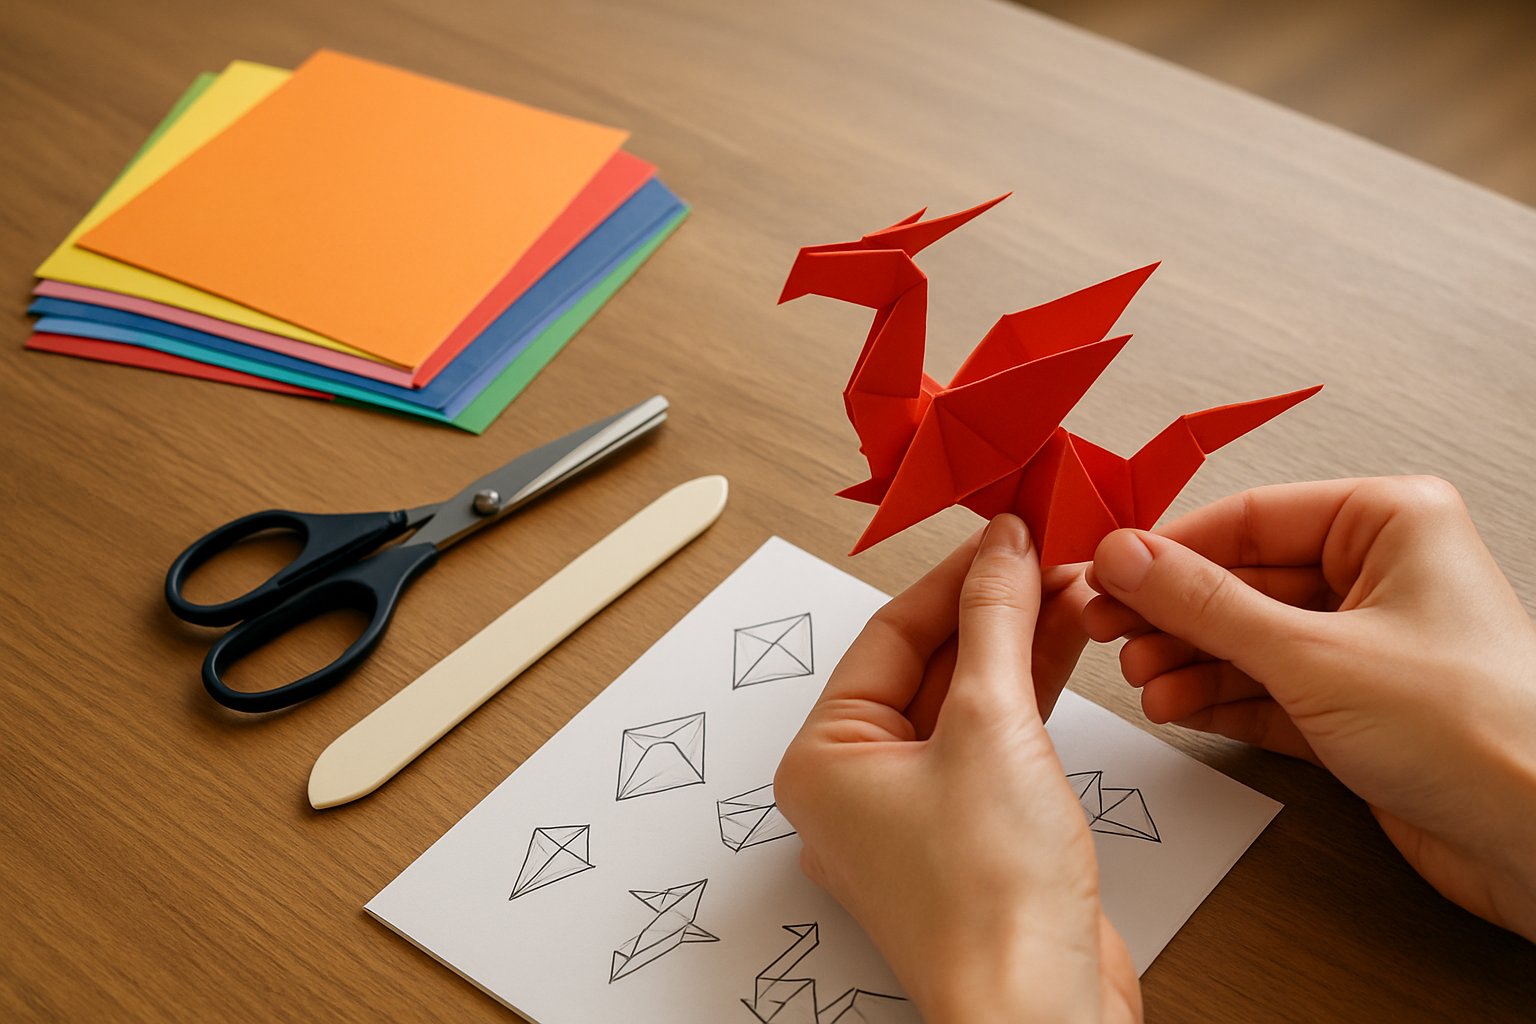
Creating an origami dragon is a rewarding craft. For the best results, focus on choosing the right paper, preparing your space, and learning key symbols.
Choosing The Right Origami Paper
For an origami dragon, start with the right paper. Size matters, so pick a large enough sheet, like 8x8 inches, to give you space for precise folds.
Thinner paper is easier to fold and often has vibrant colors. You could try kami paper, which is light and comes in many colors. This can help your dragon look lively.
Textured paper adds another level of detail. Check options at LindeHobby where you'll find a range of materials at various prices. Whether you are a beginner or an advanced folder, you'll find something suitable.
Setting Up Your Folding Space
A clean and clear workspace helps. Use a smooth table for neat folds. Avoid clutter and sticky surfaces that can crease paper unintentionally.
Good lighting is important. A bright desk lamp or natural light will reduce eye strain and help you see your folds clearly. LindeHobby offers useful desk lamps if you’re in need.
Keep a ruler and pencil nearby. These tools help mark lines precisely without cutting the paper. Enjoy creating in a comfy, well-prepared space.
Understanding Basic Origami Symbols
Knowing basic origami symbols is key for success. Mountain and valley folds are the most common. Mountain folds have a raised ridge, like a mountaintop, while valley folds dip down.
You will also see symbols for reverse folds and squash folds. These add dimension to your origami dragon. Use clear diagrams provided in guides or online videos.
Practice each symbol on scrap paper. This builds your confidence and makes complex steps easier. With these skills, you are all set to create intricate figures, starting with your dragon.
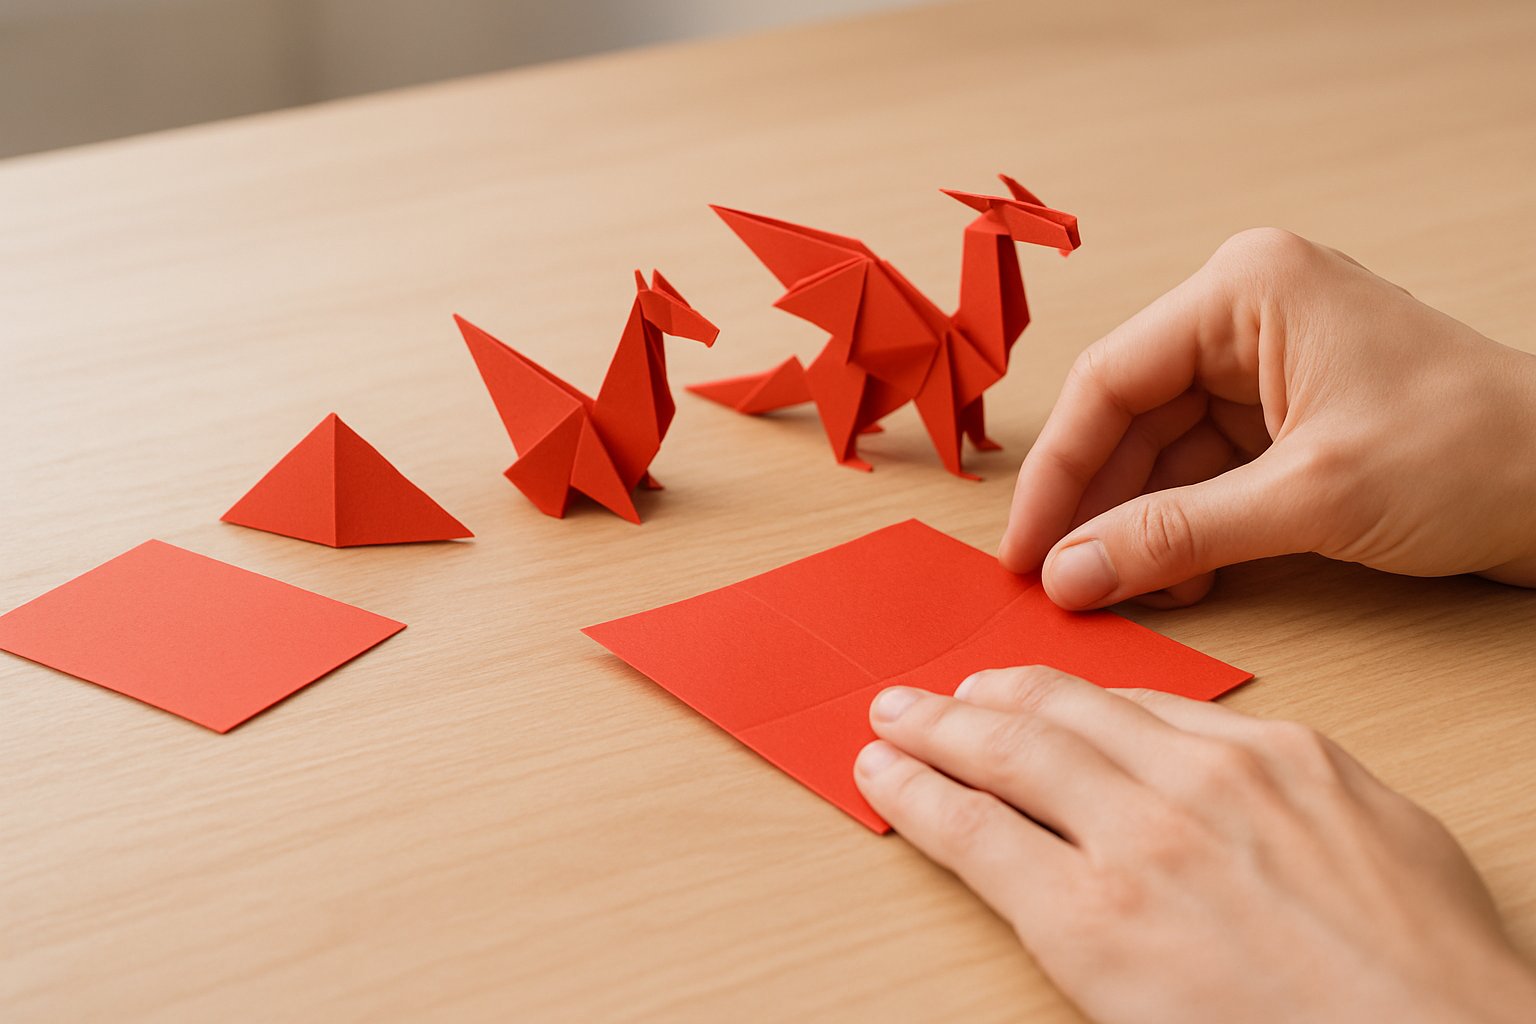
Step-By-Step Guide To Folding An Origami Dragon
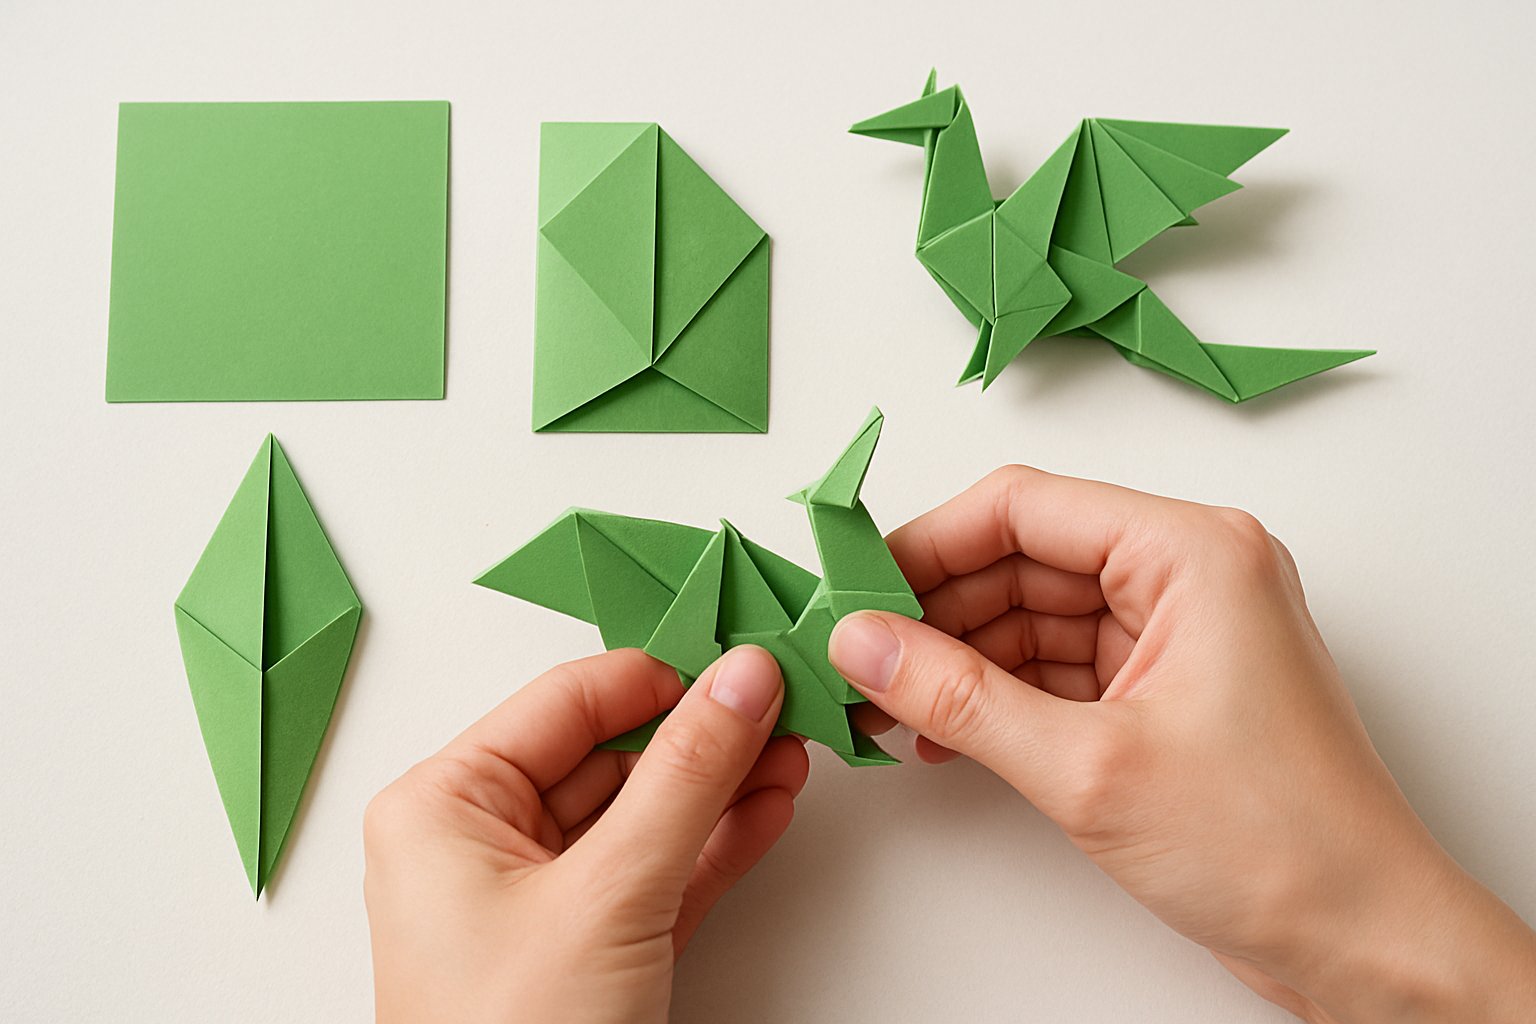
Origami dragons might seem challenging, but breaking down the process into simple steps makes it accessible to both beginners and seasoned crafters. You will soon achieve an impressive dragon form with any square piece of paper, using clear instructions and a bit of patience.
Creating The Base Folds
Begin with a square piece of paper. Fold it corner-to-corner diagonally to form a triangle. Unfold and repeat on the opposite diagonal. This creates an "X" crease.
Now, fold in half from top to bottom and side to side. The paper should show a "star" pattern with all the creases.
Collapse the paper into a smaller square shape by pushing in the sides. This forms the preliminary base, known as the "bird base," essential for many origami models.
Shaping The Dragon's Head And Neck
Identify the top point of the bird base as the head. Fold it sideways to form a narrow triangle. This will become the dragon's snout.
Fold the top layer on each side towards the center crease. Leave a small triangle at the top unfolded to create eyes or details later.
Lift the head portion slightly and shape it by tucking the tip inside or shaping with your fingers.
Forming The Body And Tail
Position the paper so the pointed end is the tail. Fold the sides inward towards the center line to give the body depth and form.
Fold the tail upwards, and then, unfold it halfway. This will shape a subtle lift, giving the dragon a more dynamic look.
To sharpen the body’s edges, press along the folds. Your dragon now has a defined form with a long, elegant tail.
Crafting The Wings And Final Details
Fold the sides down to create wide, triangular wings. Adjust the dimensions by folding more or less of the paper, depending on what style you prefer.
Gently pull the inner fold of each wing out to give them depth and dimension. You can curve or leave them sharp for different effects.
Lastly, make minor adjustments to other parts as desired. Bend the wings or tail for a wavy effect. Add little creases or shapes for more intricate designs.
Now, you're ready to display your origami dragon! At LindeHobby, we offer a wide selection of paper to fuel your crafting adventures.
Creative Tips And Personalization Ideas
Origami dragons can be as unique as you are. From decorating with colors or patterns to trying advanced folding, there's a whole world of creativity to explore. Show off your masterpiece in style, whether it's part of your room décor or a gift for someone special.
Decorating Your Origami Dragon
Enhance your dragon by adding colors and textures. Use colored paper for vibrant looks or draw on patterns with markers or colored pencils. Washi tape offers an easy way to add patterns, and stickers can create fun details like eyes or scales.
Experiment with metallic paper for a shiny finish or use glitter for a bit of sparkle. You could even incorporate ribbons or thread for added flair. Your dragon's look is entirely up to you, so let your imagination guide you!
Exploring Advanced Folding Techniques
Elevate your origami skills with advanced folds. Techniques like the reverse fold and squash fold can add dimension and realism to your dragon. Practice these techniques with scrap paper before applying them to your final project.
Try integrating wet folding for smoother curves, or use multi-piece origami to create larger, more detailed dragons. Don't hesitate to try and experiment—this is an opportunity to expand your crafting skills.
Showcasing Your Finished Creation
Once your origami dragon is complete, consider how you’ll display it. Present it on a shelf with other decorative items or place it in a shadow box for a unique 3D effect. You can even hang it from the ceiling using transparent thread to give it a flying look.
If you're making dragons as gifts, use customized packaging to make the gesture extra special. For more inspiration or materials, check out LindeHobby's wide range of supplies to personalize and showcase your origami creations with flair. Explore our collection to bring your creative projects to life!

