How to Moss Stitch Crochet: A Cozy Guide for Creative Hobbies
Ready to try something new with your crochet projects? The moss stitch might be just what you need. This stitch is perfect for anyone who loves to crochet, offering a relaxing way to create beautiful and practical items. Learning how to moss stitch crochet brings texture and interest to your handcrafted pieces quickly.
This technique is simple enough for beginners yet engaging for seasoned crafters. It involves a repeated pattern of single crochets and chains. You’ll find yourself falling into a soothing rhythm as you work a moss stitch project. The moss stitch is not only versatile but also great for crafting blankets, scarves, and even home decor.
Trying out the moss stitch lets you make use of a wide variety of yarns. Whether you choose bright and bold or soft and subtle colors, this stitch works with all types. As you become familiar with the technique, you’ll start to see the creative possibilities opening up.
Key Takeaways
- Moss stitch adds texture and interest to crochet projects.
- The technique involves simple repeats of single crochets and chains.
- Suitable for a variety of yarns and creative applications.
Getting Started With Moss Stitch Crochet
Moss stitch crochet is fun and easy for beginners. Gather the right supplies, learn about its simple structure, and find out how to follow patterns. This guide sets you on the path to creating beautiful, textured pieces quickly.
Essential Materials and Supplies
Begin with a few essential materials. You need yarn, a crochet hook, and scissors. Choose medium weight yarn for practice. Cotton or acrylic yarns are great for beginners.
Determine the right hook size by checking the yarn label. Typically, a 4.0 mm (G-6) hook works well for medium weight yarn. Make sure to have a tape measure on hand to check your gauge. This is crucial for matching pattern sizes.
Remember, having a comfortable and well-lit workspace helps. At LindeHobby, you can find all these materials in different colors, fibers, and price ranges to suit your needs. Also, consider getting a beginner-friendly kit to save time.
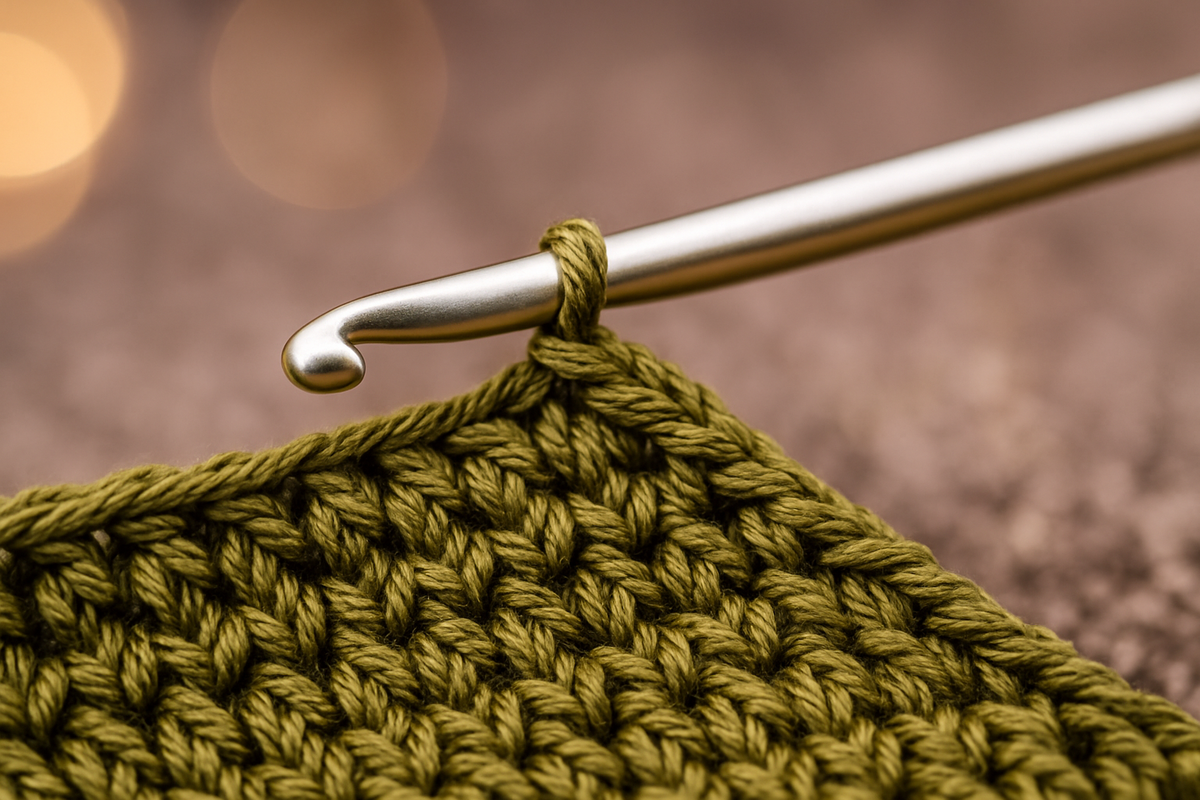
Understanding Moss Stitch Structure
Moss stitch creates a bumpy, textured fabric. It is made up of simple stitches: single crochet and chain stitches. Practice these basics before starting bigger projects.
To make this stitch, repeat a pattern of single crochet followed by a chain stitch. On the next row, single crochet into the chain space. This gives that characteristic moss-like appearance.
For variety, try using different yarn colors to create stripes or checkerboard patterns. This adds a personal touch to your projects. Don't forget to explore LindeHobby's variety of yarns for new textures and colors.
Reading Moss Stitch Patterns
Reading crochet patterns may seem tricky at first. Start by understanding symbols and abbreviations. Patterns use symbols like sc for single crochet and ch for chain stitch.
Begin with simple patterns to build confidence. Look for projects marked as beginner-friendly. Follow each step closely and use stitch markers to keep track of your place.
Try small projects like washcloths or scarves using moss stitch. Browse LindeHobby for inspirational patterns and ideas to help you create something unique. With a little practice, you'll be able to follow more complex patterns and even create your own designs.
Step-By-Step Moss Stitch Crochet Tutorial
Moss stitch creates a textured design using basic stitches. It's perfect for creating scarves, blankets, or dishcloths. Here's how you can master this simple, yet beautiful design.
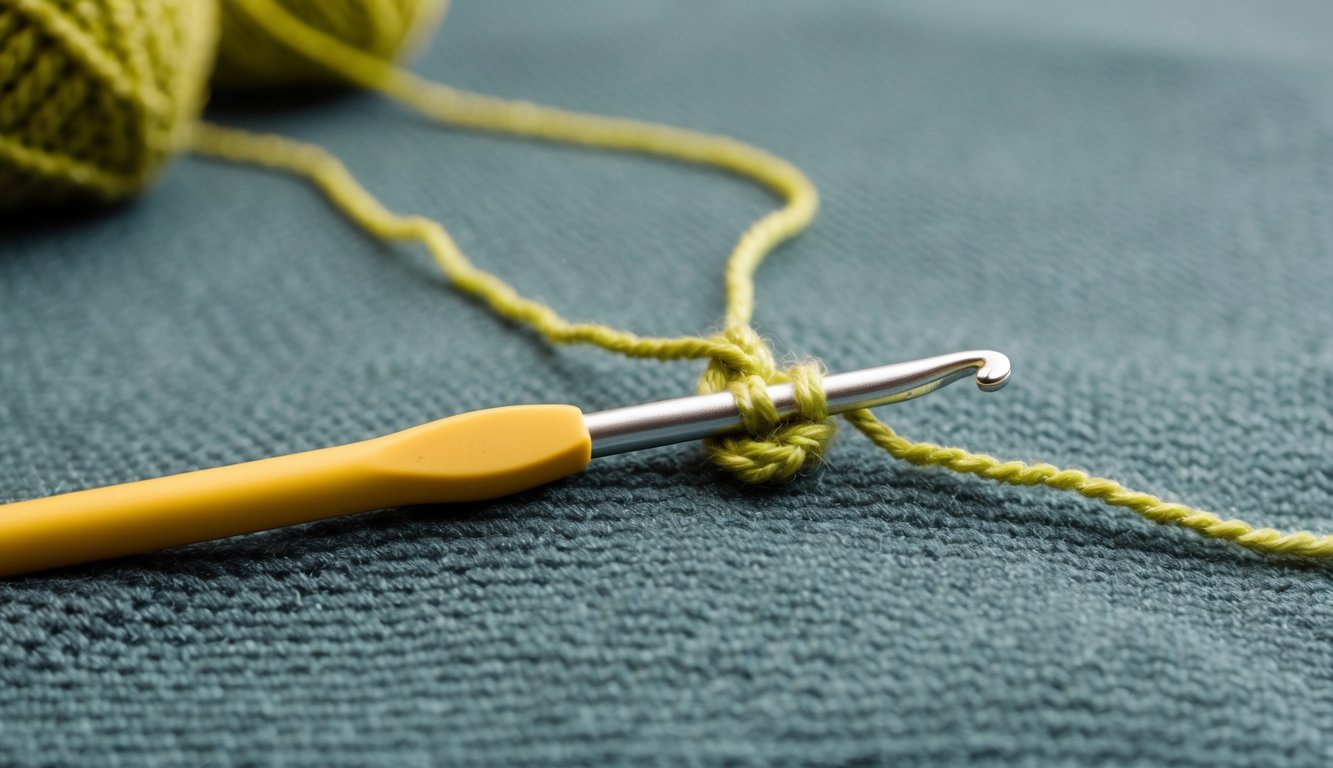
Crocheting the Foundation Row
To start, choose yarn and a hook size suitable for your project. A medium-weight yarn with a 5.5 mm hook works great for beginners. Begin with a slipknot and chain a desired multiple of two plus one extra chain. Keep your chains loose to make the following row easier to work with.
In the next step, single crochet into the fourth chain from the hook. Chain one, skip one chain, and single crochet into the next chain. Repeat this until you reach the end. This row sets the base for the moss stitch pattern.
Working the Pattern Rows
Turn your work and chain one before starting the row. Single crochet into the first chain space you created in your foundation row. Chain one, then skip the next stitch and single crochet into the following chain space. This creates the moss stitch pattern.
Continue this pattern: chain one, skip one, single crochet in the chain space across each row. As you gain confidence, try using ombre or variegated yarns for a colorful effect. By repeating these rows, your piece will start to take shape with a unique texture.
Finishing Off Your Moss Stitch
The finishing touches are important. When your piece reaches the desired length, complete one last row of single crochet to give a neat edge. Then, cut the yarn, leaving a tail. Pull the tail through the last loop and tighten it to secure your work.
To tidy up any loose ends, use a yarn needle to weave them into the fabric. This ensures a clean finish and prevents unraveling. Consider adding a tassel or fringe for a personalized touch. Whether you're crafting wearable pieces or home décor, these elements add character and flair.
Take your finished item and enjoy your handiwork. Whether it’s a beautiful scarf or cozy blanket, the moss stitch offers versatility. Browse our wide selection of yarns and hooks at LindeHobby to start your next project today!
Tips, Troubleshooting, and Creative Applications
Get the most out of your moss stitch crochet by exploring some helpful tips and creative ideas. Learn how to fix common missteps, experiment with color combinations, and discover ways to use this stitch in your crochet pieces.
Common Moss Stitch Mistakes and Fixes
When learning the moss stitch, it’s easy to make a couple of mistakes like uneven tension or skipped stitches. If your rows aren't straight, check your tension first. Keep it consistent by relaxing your hands and practicing a steady rhythm.
Skipped stitches can occur if you accidentally insert your hook in the wrong spot. Always double-check that you are working into the chain space, not the stitch itself. This small detail can greatly impact your project.
If your edges are wavy, ensure you chain the right number of stitches at the beginning of each row. This foundation is key for maintaining even sides. Keep these simple fixes in mind to ensure your project comes out as planned.
Colorwork and Pattern Variations
Adding color to your moss stitch projects can make them pop. Consider using two or more complementary colors for stripes. To do this, switch yarns at the end of each row. We have a range of colorful yarn options at LindeHobby to bring your vision to life.
For pattern variations, experiment with changing the stitch pattern. Alternate rows of plain and moss stitches to create interesting textures. Try varying the length of your color blocks for eye-catching designs. With endless combinations, play around until you find the perfect look.
Create endless designs with the same stitch by embracing these possibilities. Let your creativity shine through bold contrasts or subtle color shifts.
Incorporating Moss Stitch Into Projects
The moss stitch can be used in many crochet projects, from cozy blankets to stylish scarves. Its tight weave makes it ideal for warm, durable items. Craft a soft throw for your living room or a snuggly baby blanket.
Moss stitch also works well in garments such as sweaters or hats. Its texture adds a unique touch without being overly complicated. Create trendy dishcloths with our cotton yarns for a practical and beautiful addition to your kitchen.
Remember, all your supplies are just a click away. Explore LindeHobby's collection for quality yarns and hooks to complete your projects with ease.

