Mothers Day Card DIY: Heartfelt Creations to Share Your Love
Looking for a thoughtful way to express love and creativity this Mother's Day? Why not try making a DIY Mother's Day card? Crafting a homemade card is a heartfelt gesture that shows you care, and it can be a fun and relaxing activity. Plus, it gives you the opportunity to create something unique and meaningful.
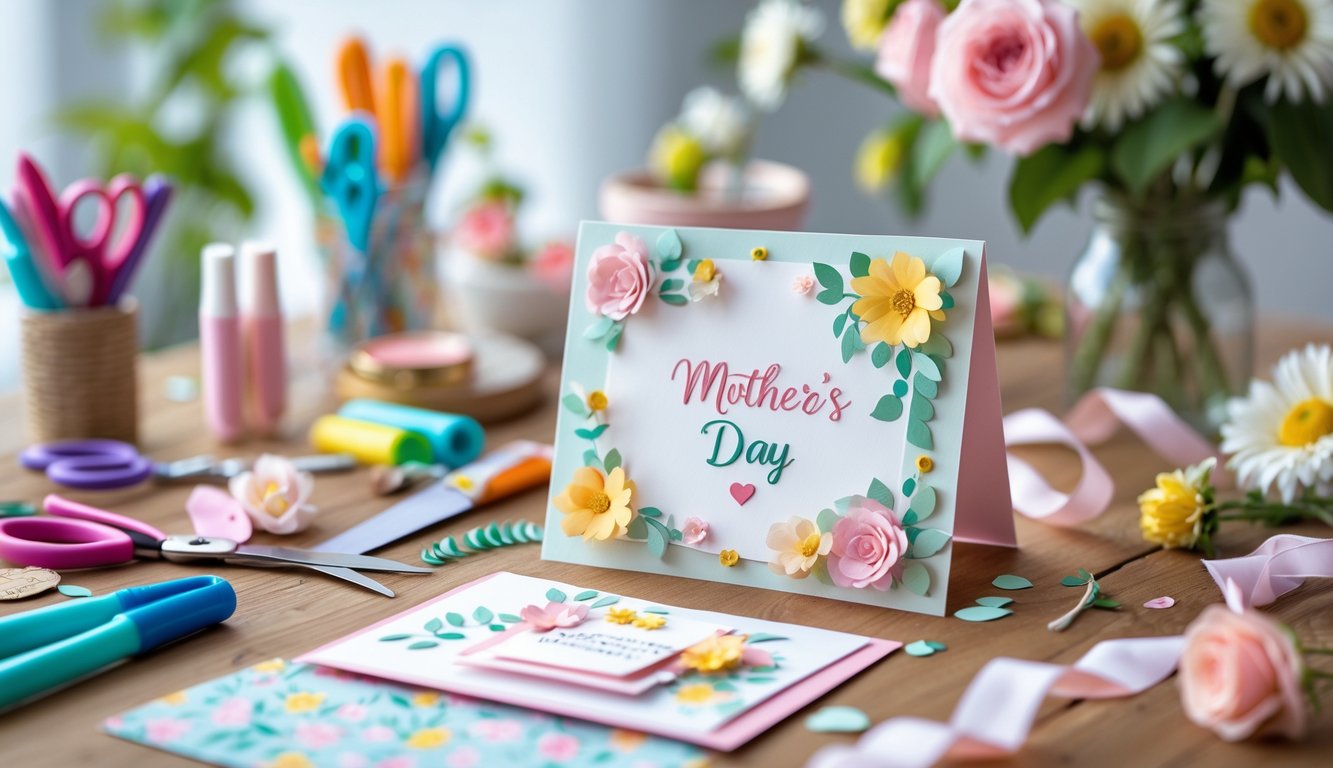
Creating your own card allows you to customize it with personal touches, like your mom’s favorite colors or themes that reflect special memories. It also offers a chance to explore your creative side, using materials like colored paper, markers, and glitter to bring your ideas to life. Making a personalized card is not just about the end result, but also about enjoying the process and expressing your love in a creative way.
Whether you are new to crafting or you’ve been doing it for years, making a card can be easy and enjoyable. You'll find it rewarding to craft something from scratch, and it doesn't have to be expensive. Consider using simple materials that fit your budget, and remember, LindeHobby offers everything you need to get started. Explore our range for inspiration, and get ready to make something special for this Mother’s Day.
See our drawing and painting products here
Key Takeaways
- Gather essential materials to create your card.
- Explore creative ideas for a personalized touch.
- Follow simple steps to craft your unique card.
Essential Materials for DIY Mother’s Day Cards
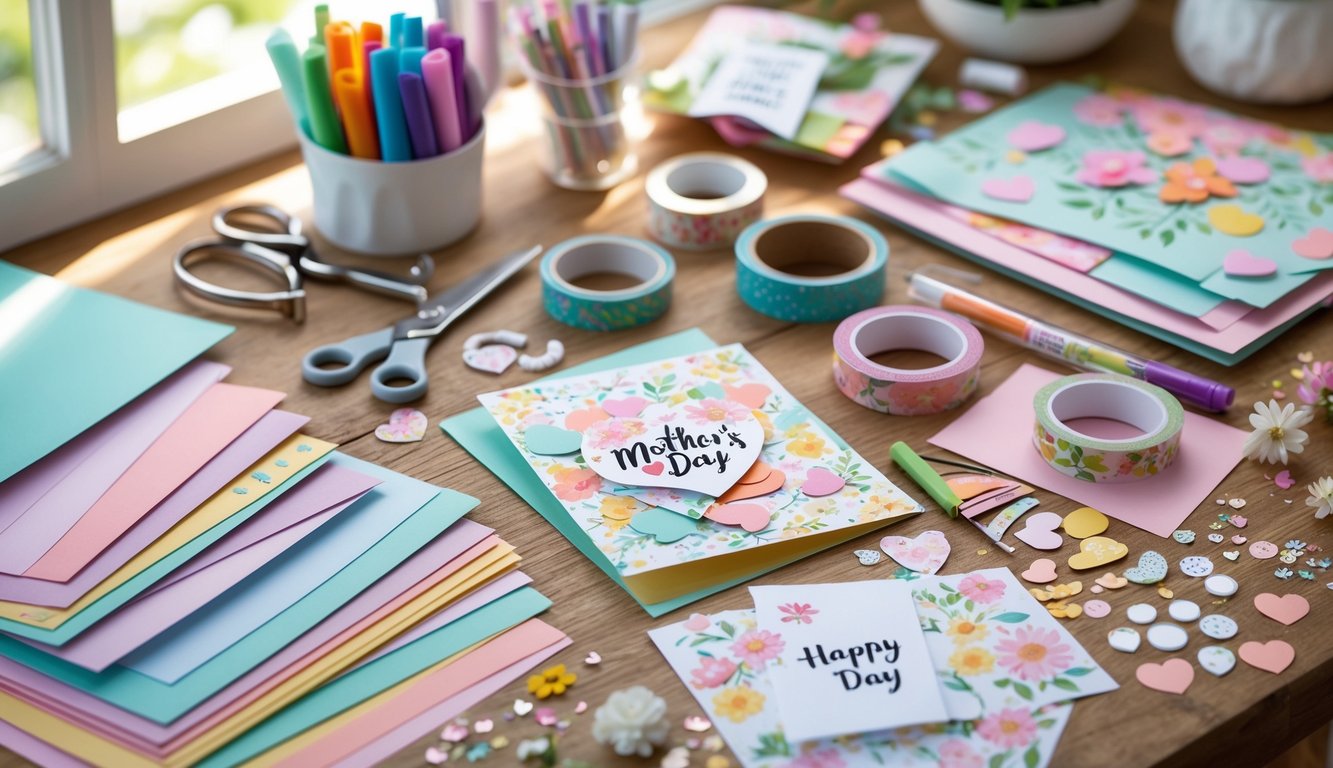
Creating a heartfelt DIY Mother’s Day card involves a few key materials. High-quality craft supplies, the perfect paper, and fun decorative elements come together to make a meaningful gift.
Recommended Craft Supplies
To get started on your DIY card project, gather some basic craft supplies. Scissors and glue sticks are essential for cutting and assembling your card. Double-sided tape can be handy for attaching heavier items.
Markers, colored pencils, and paints allow you to add personal messages or designs. For more texture, consider using a crayon set or watercolors. Don't forget your trusted craft knife for precise cuts and a ruler for straight lines.
If you’re just starting out, LindeHobby has beginner-friendly craft kits. For more seasoned crafters, explore their range of premium supplies to add something special to your creation.
Choosing the Right Paper and Cardstock
Paper and cardstock form the backbone of any homemade card. Look for acid-free cardstock for a long-lasting card that won’t yellow over time. Options like textured paper or pearl-finished cardstock can add an extra touch of elegance.
The weight and thickness of the cardstock affect how your card holds up when you attach decorations. Consider using 110 lb cardstock for a sturdy card or 65 lb card stock for something lighter.
Explore color choices like pastel tones or bold shades. Special paper like vellum or recycled craft paper serves eco-conscious creators or those wanting a unique look. LindeHobby offers numerous options to match any design vision.
Sourcing Decorative Elements
Enhance your Mother’s Day card with decorative elements. Stickers and stamps are a quick way to add graphics. You might also use washi tape to create borders or highlight sections with its varied patterns.
Add dimension with ribbons, lace, or buttons. Consider embellishments like dry flowers or confetti for that extra wow factor.
For those looking to impress, try using metallic pens for added sparkle. LindeHobby’s diverse selection of decorative elements ensures you’ll find the perfect touch for your project. Give your card a personalized edge that shows your love and creativity.
Creative Card Design Ideas
Crafting your own Mother's Day card is both personal and rewarding. Discover how to use simple styles, pop-up features, watercolor effects, and photo memories to make your card stand out.
Simple Handmade Styles
Begin with simple handmade cards using basic materials like colored paper, markers, and stickers. These designs are perfect for beginners or when you're short on time.
- Materials:
- Colored cardstock
- Markers or crayons
- Stickers or stamps
Crafting small 3D embellishments by cutting and folding parts of the paper adds interest. Keep the layout neat and focused, helping your message shine through. This style emphasizes the heartfelt effort over complexity, ideal for a warm expression of love.
Pop-Up and 3D Card Techniques
Pop-up and 3D cards offer a delightful surprise. These designs require more time but deliver stunning results that impress.
- Materials:
- Scissors or craft knife
- Glue or tape
- Colored paper
Create a pop-up heart or flower by cutting tabs in the center fold, or try layering paper to form a 3D bouquet effect. Assemble the card from the inside before attaching it to the outer cover. This technique brings your card to life, making it a memorable keepsake.
Watercolor and Painted Card Concepts
For a touch of artistry, consider using watercolor or paint to add vibrant visuals. Paint a simple floral pattern, or abstract designs create a sophisticated look.
- Materials:
- Watercolor paints or acrylics
- Brushes
- Watercolor paper
Focus on mixing colors to create gradients, or dab paint brushes to form playful textures. Ensure edges are dry before working on details. This medium allows you to explore colors and brush strokes, creating personalized artwork for your mother.
Photo and Memory Cards
Photo and memory cards showcase cherished memories. Incorporate photos to make your card a treasured heirloom.
- Materials:
- Photographs
- Decorative paper
- Tape or photo corners
Select photos that capture joyful moments. Create a collage or frame a single shot with patterned paper. Write a small note on the back to share the story behind each picture. This method personalizes your card, turning it into a sentimental journey through time.
Explore these ideas to make a card that truly touches hearts. For all the supplies you need, check out LindeHobby’s range of affordable and high-quality craft materials and get started on your next creative project!✨
Step-by-Step Guide to Crafting Your Card
Creating a Mother's Day card by yourself adds a heartfelt touch. This guide will walk you through planning a thoughtful layout, incorporating personalized details, and preparing the card for the perfect presentation. Find ways to make your card extra special using materials from LindeHobby, offering quality without breaking the bank.
Planning Your Card Layout
Begin by choosing a theme that represents your mom. Consider her favorite colors or flowers. Draw a quick sketch on scrap paper, keeping the design simple. Write your message first. A heartfelt note is always special.
Next, gather your materials. You'll need cardstock, colored paper, and adhesives. Die-cuts, stamps, and stickers help add flair. LindeHobby has a wide range of options to suit any card design, ensuring both quality and affordability.
Measure your card size carefully. A standard card is 5x7 inches, but feel free to personalize the size. Make a rough draft layout, arranging everything on your blank cardstock before gluing anything down.
Adding Personal Touches
Customize your card with thoughtful extras. Hand-lettering the message adds a personal feel. Use fun fonts or calligraphy pens for an artistic touch. LindeHobby offers a variety of pens and tools perfect for this!
Decorate using your own designs or pictures. You might draw or paint small elements that relate to your mom. Enhance the card with textures using fabric scraps or ribbons. They can be found in our rich selection of art supplies.
If you wish to add photos, consider using printed copies to avoid damaging originals. These small details make your card unique and memorable.
Finishing and Presenting Your Card
Before final assembly, double-check all elements. Ensure that spelling is correct and everything is securely attached. Use a glue stick or double-sided tape for a neat finish.
Consider adding a coordinating envelope. Decorate it too, with a touch of color or a matching design. For a professional look, press your card under a heavy book overnight to flatten it.
Include a handwritten address for a personal touch or seal it with a wax emblem. LindeHobby has sealing kits that can add an elegant final touch. Encourage creativity by exploring different textures and layering effects.
Visit LindeHobby to discover a broad selection of crafting supplies. Start your project today and bring joy with a handmade Mother’s Day card!

