What Do You Need for Paper Mache: Essential Materials for Creative Crafting with LindeHobby
Paper mache is a fun and simple craft that can bring your creative ideas to life. Whether you're making masks, sculptures, or decorative items, it's an enjoyable activity to try. For a successful paper mache project, you need a few basic materials: paper, glue or flour paste, and water. These ingredients are both affordable and easy to find, making it a perfect hobby for everyone.
Many enjoy the relaxing process of turning plain paper into colorful, three-dimensional forms. Using common newspapers or recycled paper, you can create unique designs without breaking the bank. The joy of crafting these items offers a sense of accomplishment and a chance to unwind from the everyday hustle.
To make your crafting experience even better, having a few extra tools like a mixing bowl and paint can enhance your pieces. Once you've crafted your masterpiece, paint or decorate it to suit your style. LindeHobby offers a variety of supplies to help you get started on your paper mache journey.
Key Takeaways
- Basic materials include paper, glue or flour, and water.
- Crafting offers relaxation and creativity.
- Extra tools like paint can enhance projects.
Essential Materials for Paper Mache
To get started with paper mache, you'll need a few things like paper, glue, and a space to work. Picking the right paper and adhesive can make a big difference in how your project turns out.
Choosing the Right Paper
When choosing paper for paper mache, newspaper is a popular and affordable option. Its thin texture makes it easy to shape and mold. Tissue paper can provide a smoother finish, ideal for detailed projects. For sturdier creations, consider using brown kraft paper. It's thicker and provides strong support for larger models, helping maintain structure while drying.
Remember to tear your paper into strips rather than cut them. Torn edges blend better, giving a smoother final appearance. Aim for pieces about 1 inch wide and 6 inches long for best results. Using smaller or larger strips might affect the ease of application and the smoothness of your project.
Selecting an Adhesive
For glue, you can use common household options. PVA glue, like white school glue, is easy to use and bonds well with paper. Mix it with water in a 2:1 ratio for a creamy paste. If you want a raised or textured effect, try using the glue without water.
Some crafters prefer using a homemade paste made from flour and water. This recipe is budget-friendly and can be adjusted for thickness. To make it, boil 1 cup of water, remove from heat, then stir in a mixture of 1 cup cold water and 1 cup flour until smooth. This sticky blend works well for large projects. While flour paste lacks long-term durability and strength, it works well for fun, temporary crafts.
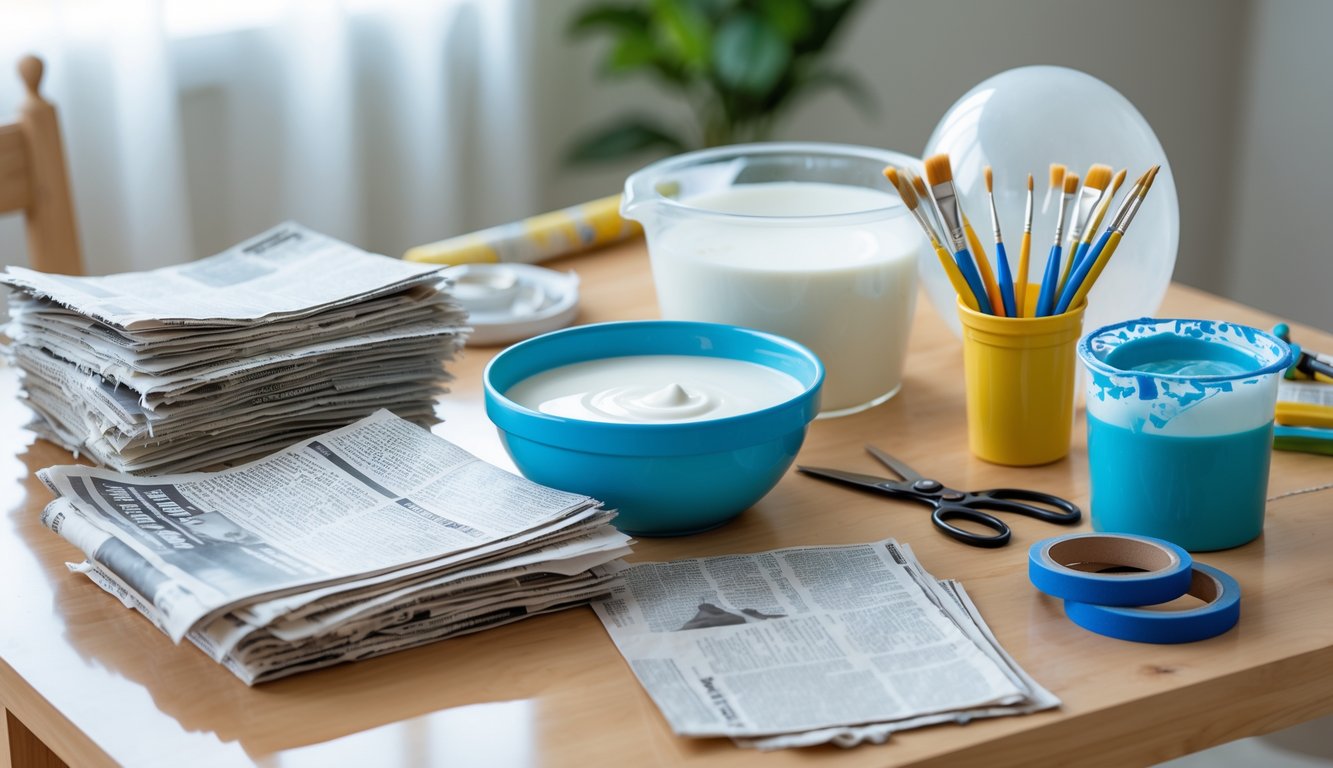
Preparing a Workspace
Your workspace is key to keeping the mess at a minimum. Cover your area with old newspapers or a plastic sheet. This will protect your table and make cleanup faster. Choose a spot with good ventilation to help the glue dry quickly and reduce fumes.
Keep a bowl of water and a cloth nearby to clean your hands or the surface as needed. Having these items on hand helps prevent glue or paper from sticking in the wrong places. A handy tip is to keep all your tools like scissors and brushes within easy reach to keep your project moving smoothly.
Step-By-Step Preparation
Creating paper mache requires simple materials and easy steps. You'll need to cut and shape paper before mixing your paste or glue. This process is straightforward and fun. Here’s how to get started with each step.
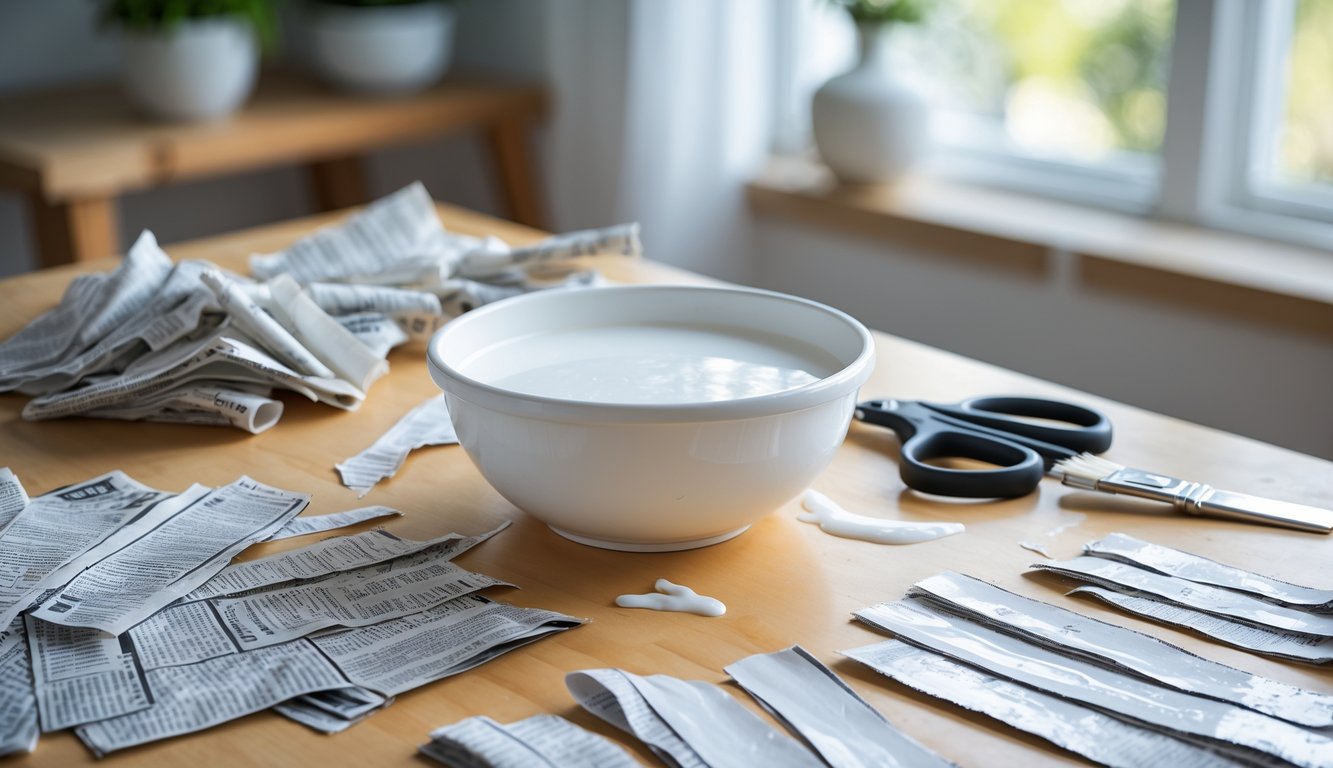
Cutting and Shaping Paper
Start with newspaper, old magazines, or any paper you can tear easily. Tear the paper into strips around 1 inch wide and 6-8 inches long. The exact size isn't critical, but evenly sized pieces work best.
Craft scissors can also be used for more precise shapes if you plan on designing something intricate. Make sure you have enough paper pieces to cover your project. For a small bowl, you'll need several sheets.
Planning layers is key. You'll need at least 3-4 layers for a strong structure. Separate your paper into piles, organizing them by size if necessary. This makes the layering process smoother.
If you're creating a specific shape, prepare a frame using materials like wire or cardboard. You can shape these into balls, masks, or any object you desire. This helps give your paper mache its unique form.
Mixing Paste or Glue
To prepare your paste, use either flour and water or white glue. For a flour paste, mix equal parts flour and water in a bowl. Stir until you get a smooth, thick batter-like consistency.
If you prefer using white glue, mix one part glue with one part water. This will become a slightly runny mixture. It's easy to use and perfect for crafting sturdy objects.
Avoid lumps in your paste for better coverage. Strain the mixture if needed. Store the paste in a sealed container if not using it immediately; it'll keep for a few days in the fridge.
Now you're ready to apply the paste to the paper and layer it over your shape. With these tips, you're set to dive into your next craft adventure confidently!
Helpful Tools and Extras
To make creating paper mache projects smoother and more enjoyable, some tools and extras can really help. These include items that add structure and decorative flair to your work.
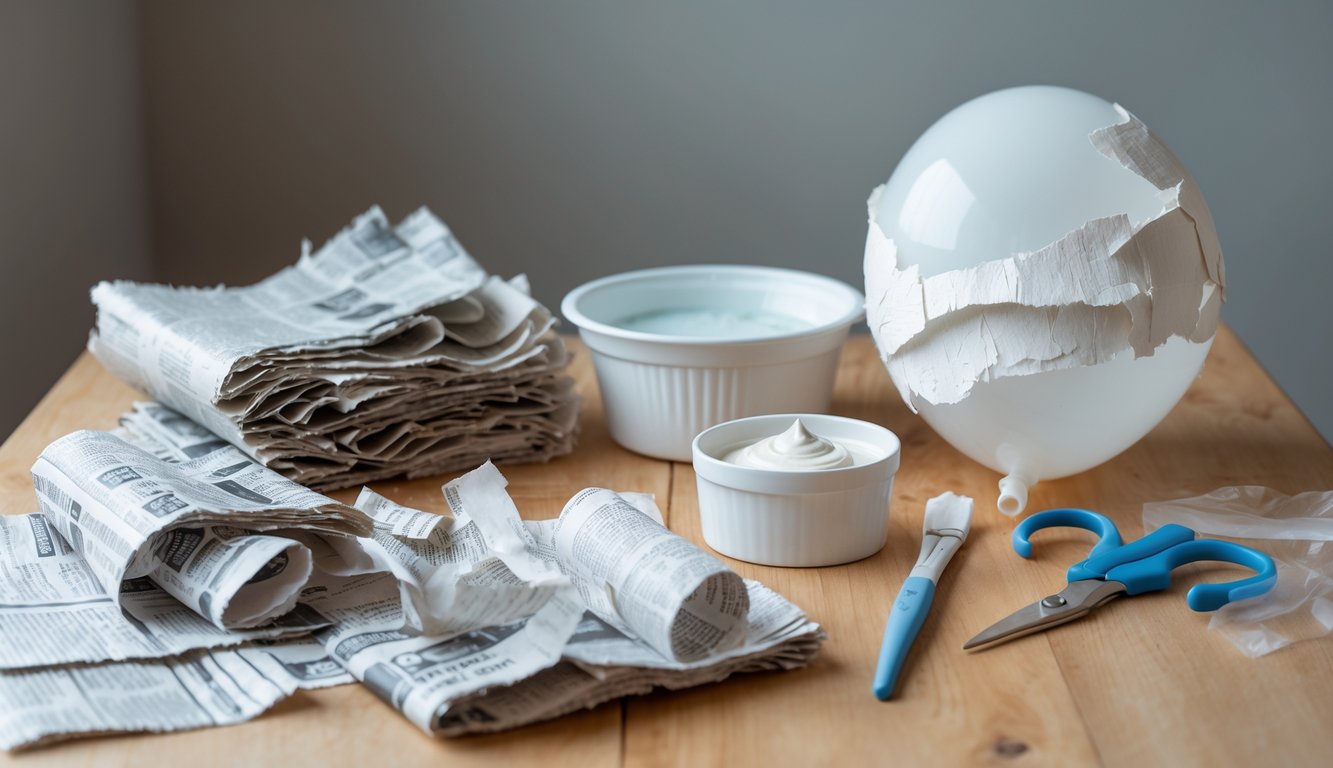
Supporting Structures and Molds
Using supporting structures can turn paper mache projects from simple to extraordinary. Wire armatures or balloons are great for giving shape to your projects. They provide a sturdy base to build your layers on, allowing more complex designs.
Reusable molds like bowls or bottles offer an easy way to shape projects. You can use cardboard or plastic containers as forms. These are especially useful for creating uniform shapes, making your artwork appear polished.
Incorporating basic household items, such as empty jars or boxes, can be budget-friendly and effective. LindeHobby's selection offers affordable options for both simple and advanced structures.
Finishing Touches and Decorations
Once your paper mache piece is dry, it's time to think about finishing touches. Use paint to add color and vibrancy. Acrylic or tempera paints work well for covering paper mache surfaces.
Add glitter or decals for extra flair. Positioning small embellishments like beads or sequins can transform your project from nice to wonderful.
Consider using varnish or sealant to protect your work. This ensures that projects last longer. It also gives the artwork a professional finish. To personalize your creation, explore diverse embellishments and materials at LindeHobby to make your work truly unique.

